A few months ago I stopped using my regular hosting provider for my website. My site had become bloated and I’d lost touch with how I’d made it (like any coder, I looked back on my past code and wept).
I decided to radically minimalise my presence on the web, but make it cleaner, more in line with how I worked and what I used daily, and write about what I wanted, when I wanted to. The result is this blog! I’ve made a lot of blogs over the years, and each time I resolve to keep it up to date, contribute to it regularly, and promptly do none of those things. This time at least it won’t cost money!
So if, like me, you fancy a spring-clean of your house on the internet, or you’d like to claim a little patch of land online for the first time in a while (or ever), I’m going to talk about how to do it for no money with Jekyll and Github pages.
What’s more, I’ve made a starter blog for you too.
You can steal it, copy it, re-work - whatever you fancy really! The way I see it, everyone should have their own little slice of the internet, and using this you’ll have a blog online, for free, without needing to know how to code!
A quick note about the tech
This site is built using Jekyll - a super simple static-site generator that allows you to do some cool things like build a blog without having to do much setup. What’s more, it’s built into Github’s “Github pages” - a system that lets you deploy your work to the web without handling any aspect of that process. All you do is store the site in Github under a certain name, and it’s all done for you - no hidden steps, just pure ease.
What all of this means is that Github is smart enough to look at code written in the Jekyll style and go “I know what to do with this”, and put it live. Between that and the fact that I’ve written a blog framework for you to use, you’ll genuinely be able to get your own site live by the end of this blog by clicking a few buttons. Promise.
Now, if you’re a coder and just fancy a scaffold of the site, let me save you a bunch of time - just fork this repository, and change the name of it to YOURGITHUBUSERNAME.github.io. Github pages will recognise the name and deploy it for you automatically. There’s also a section later on in this blog about how to run the site locally, but the instructions are also in the README.
For anyone else, let me take you through the simple steps of copying my code through Github, getting it live on the internet, and changing things when you want to.
Let’s get to it!
Making your own
Small disclaimer: Unsurprisingly, this is a slight change of pace from the management and productivity posts I’ve put out recently. I’m going to go a little more code-y for this one. You won’t have to wait long for the next post though!
Ok let’s make a site! The beauty of Github pages (and Github in general really) is that you can change code without having a code editor installed or knowledge of coding really. That being said, Jekyll is code, so if you’re after out-of-the-box, feature-rich blogging, Wordpress or something equivalent may be the way to go for you.
If you’re sticking around then awesome! If you have questions about any of these points, you can always get in touch with me on Twitter @MrFirthy.
Github setup
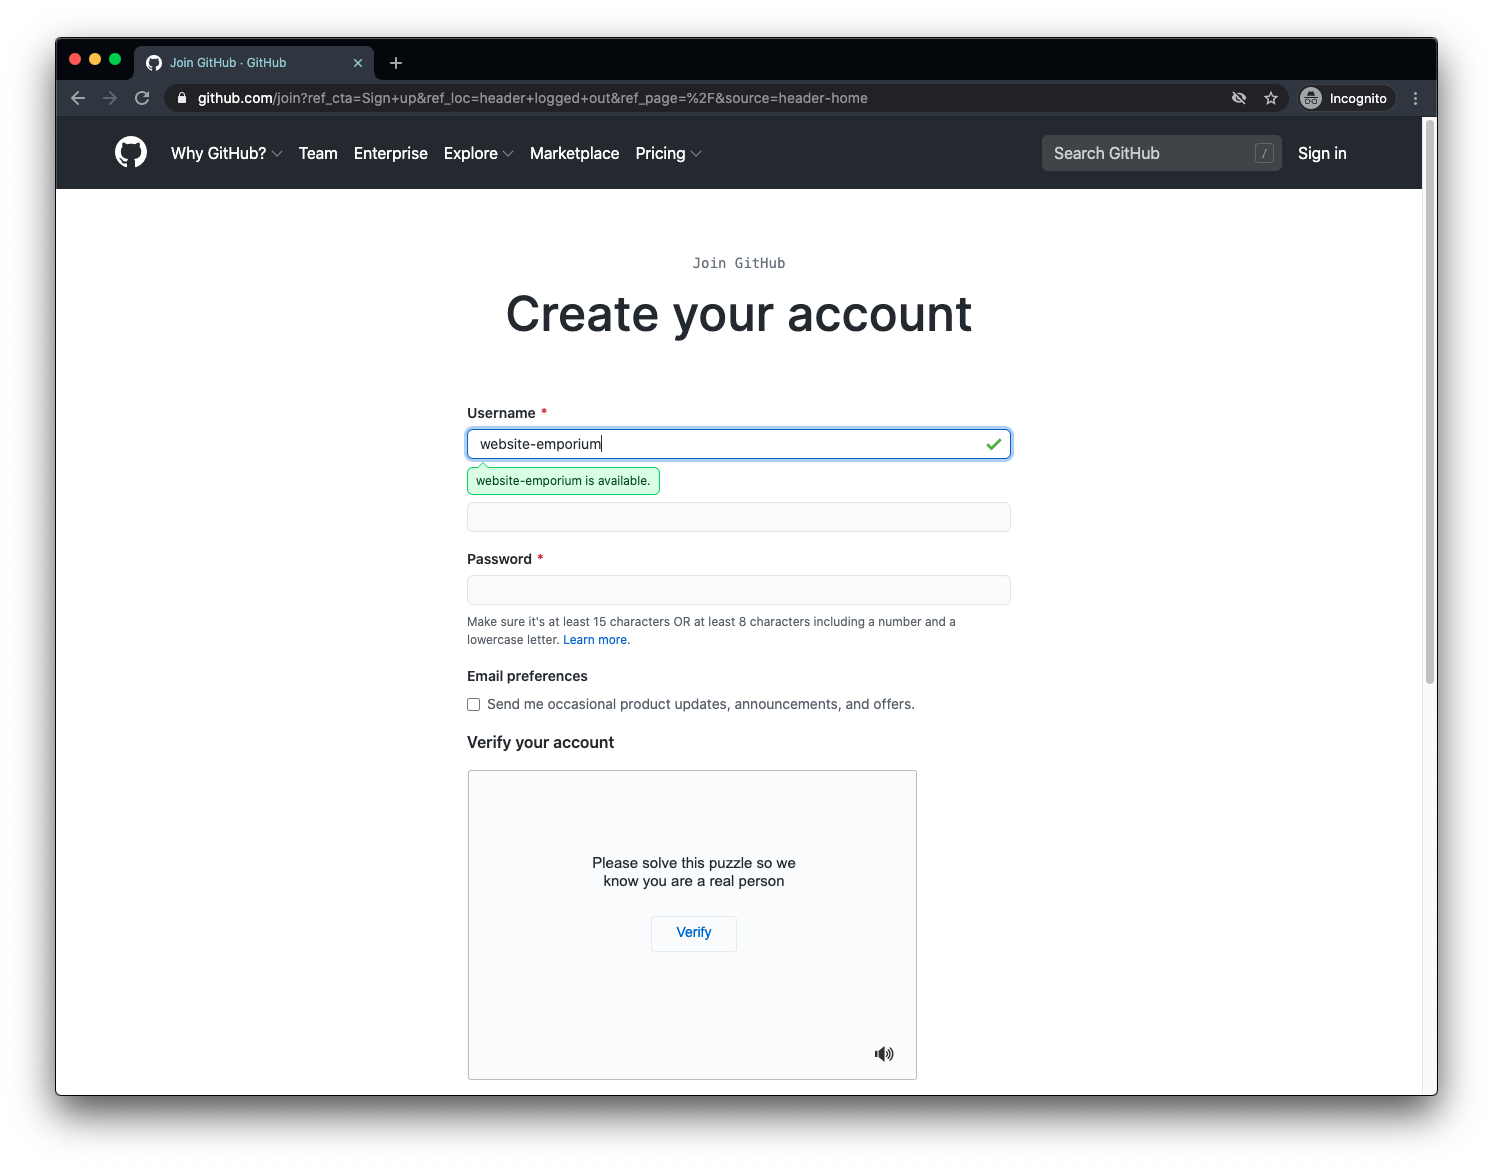
First you’ll need a Github account. If you have one already, skip this step! If you don’t…there’s not much to this step! Head to Github and create an account, but bear in mind that your username will be reflected in your live site address! (It’ll be GITHUB_USERNAME.github.io).
‘Forking’ my repo
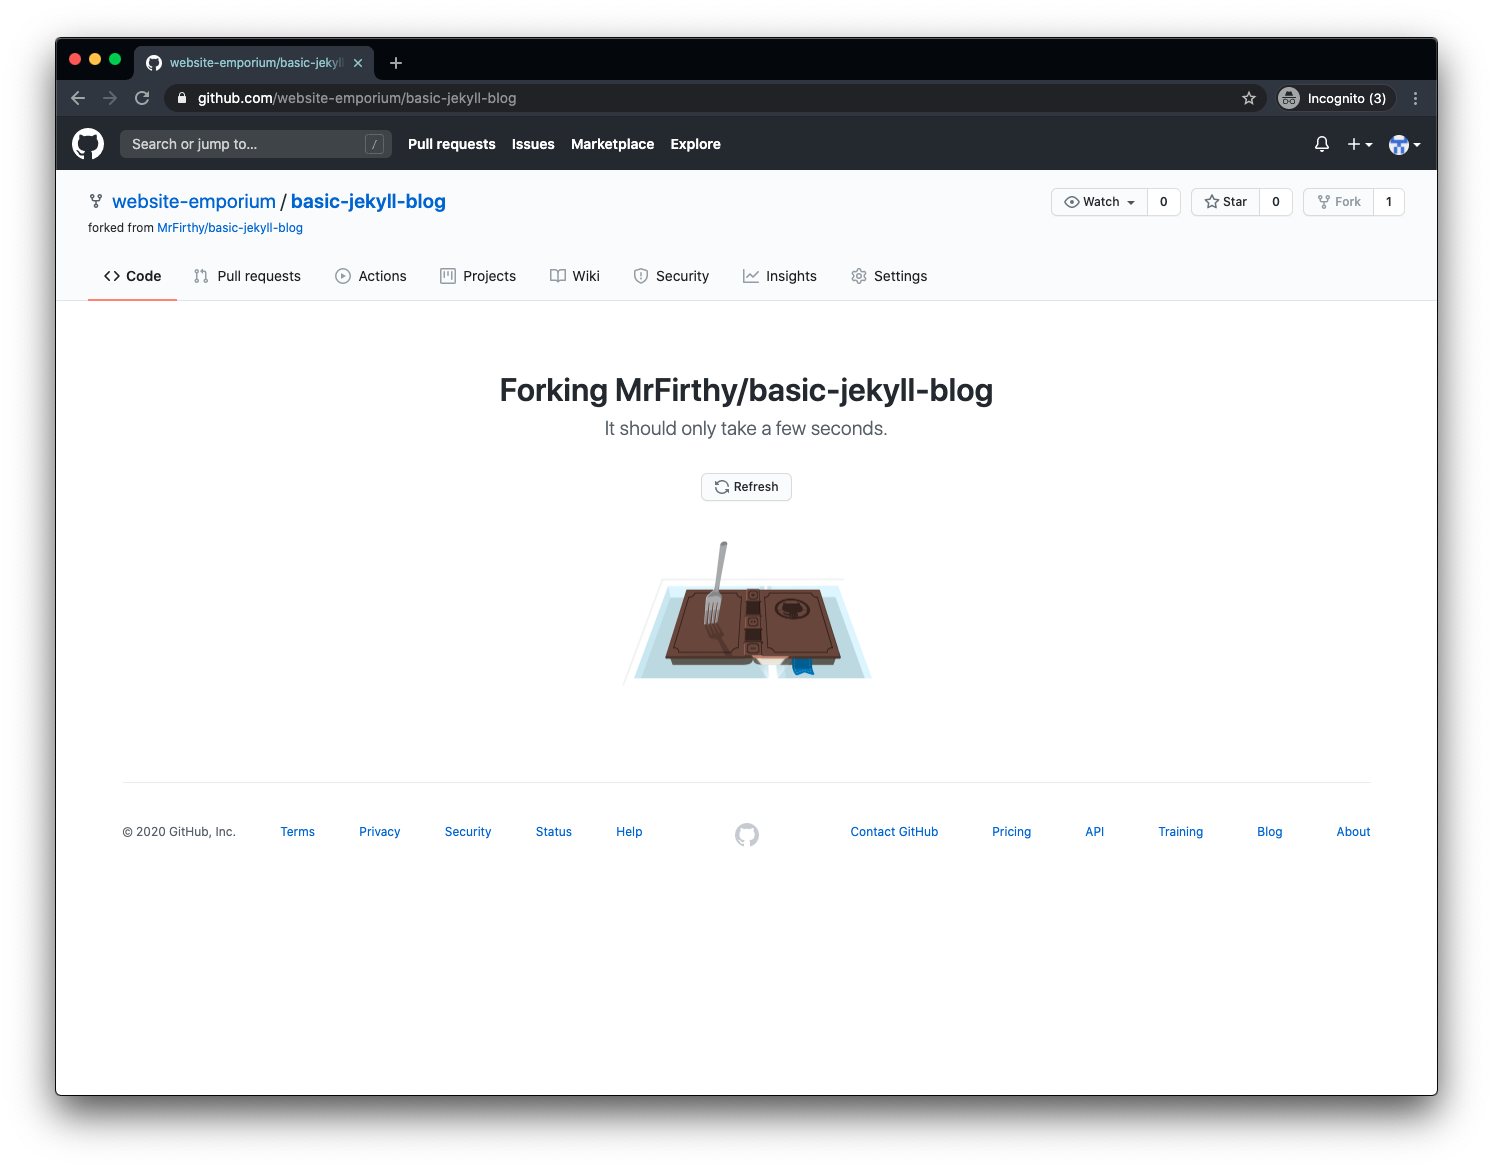
Now your account is set up, just head to this link:
https://github.com/MrFirthy/basic-jekyll-blog
All you need to do it hit the “Fork” button in the top right hand corner. This will make a copy of the code and store it on your Github account for you to use as you wish!
Changing the project name (so it gets deployed)
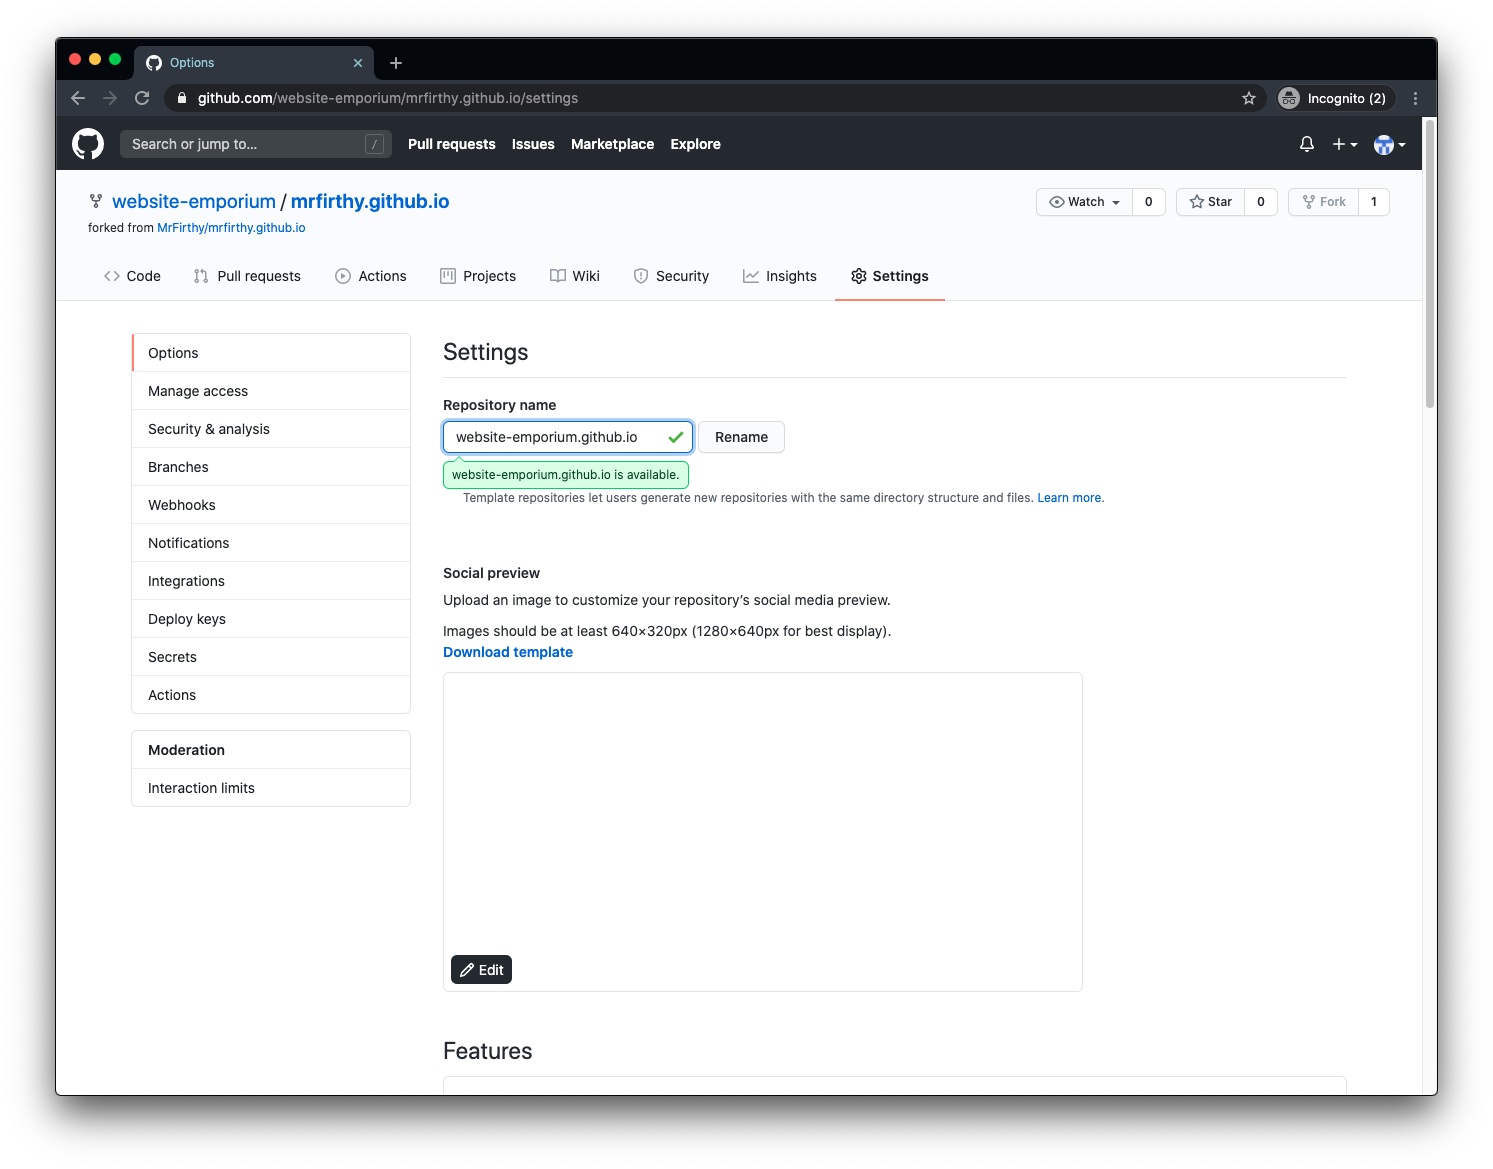
Now all you need to do is change the name of the repository you’ve just forked so that it matches the name of your Github account (the naming convention is GITHUB_USERNAME.github.io). For example if your Github username is joebloggs, you should change it to joebloggs.github.io. You do this by heading to the ‘settings’ tab of your project:
See it live!
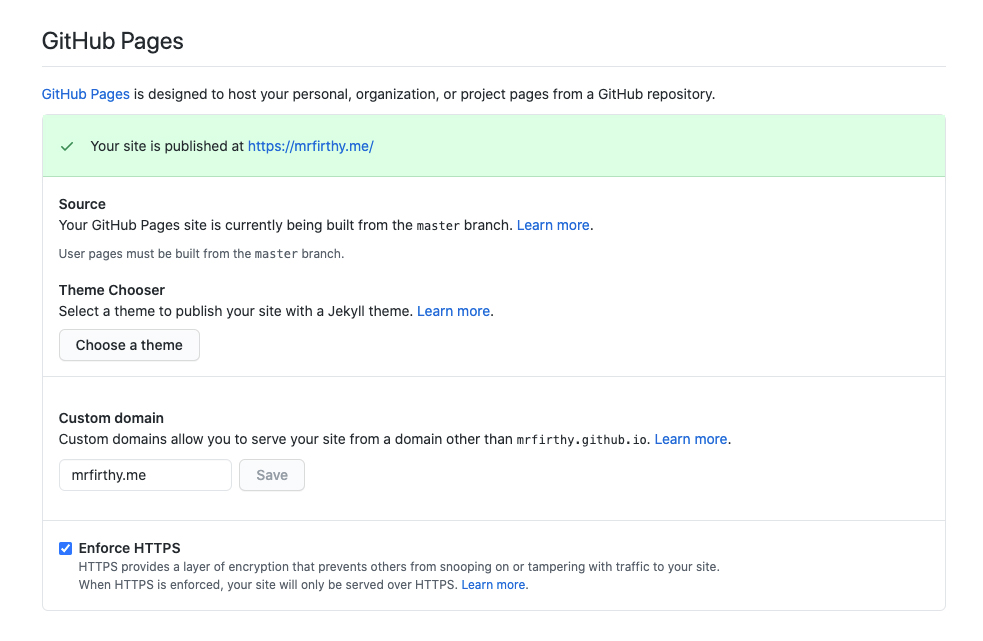
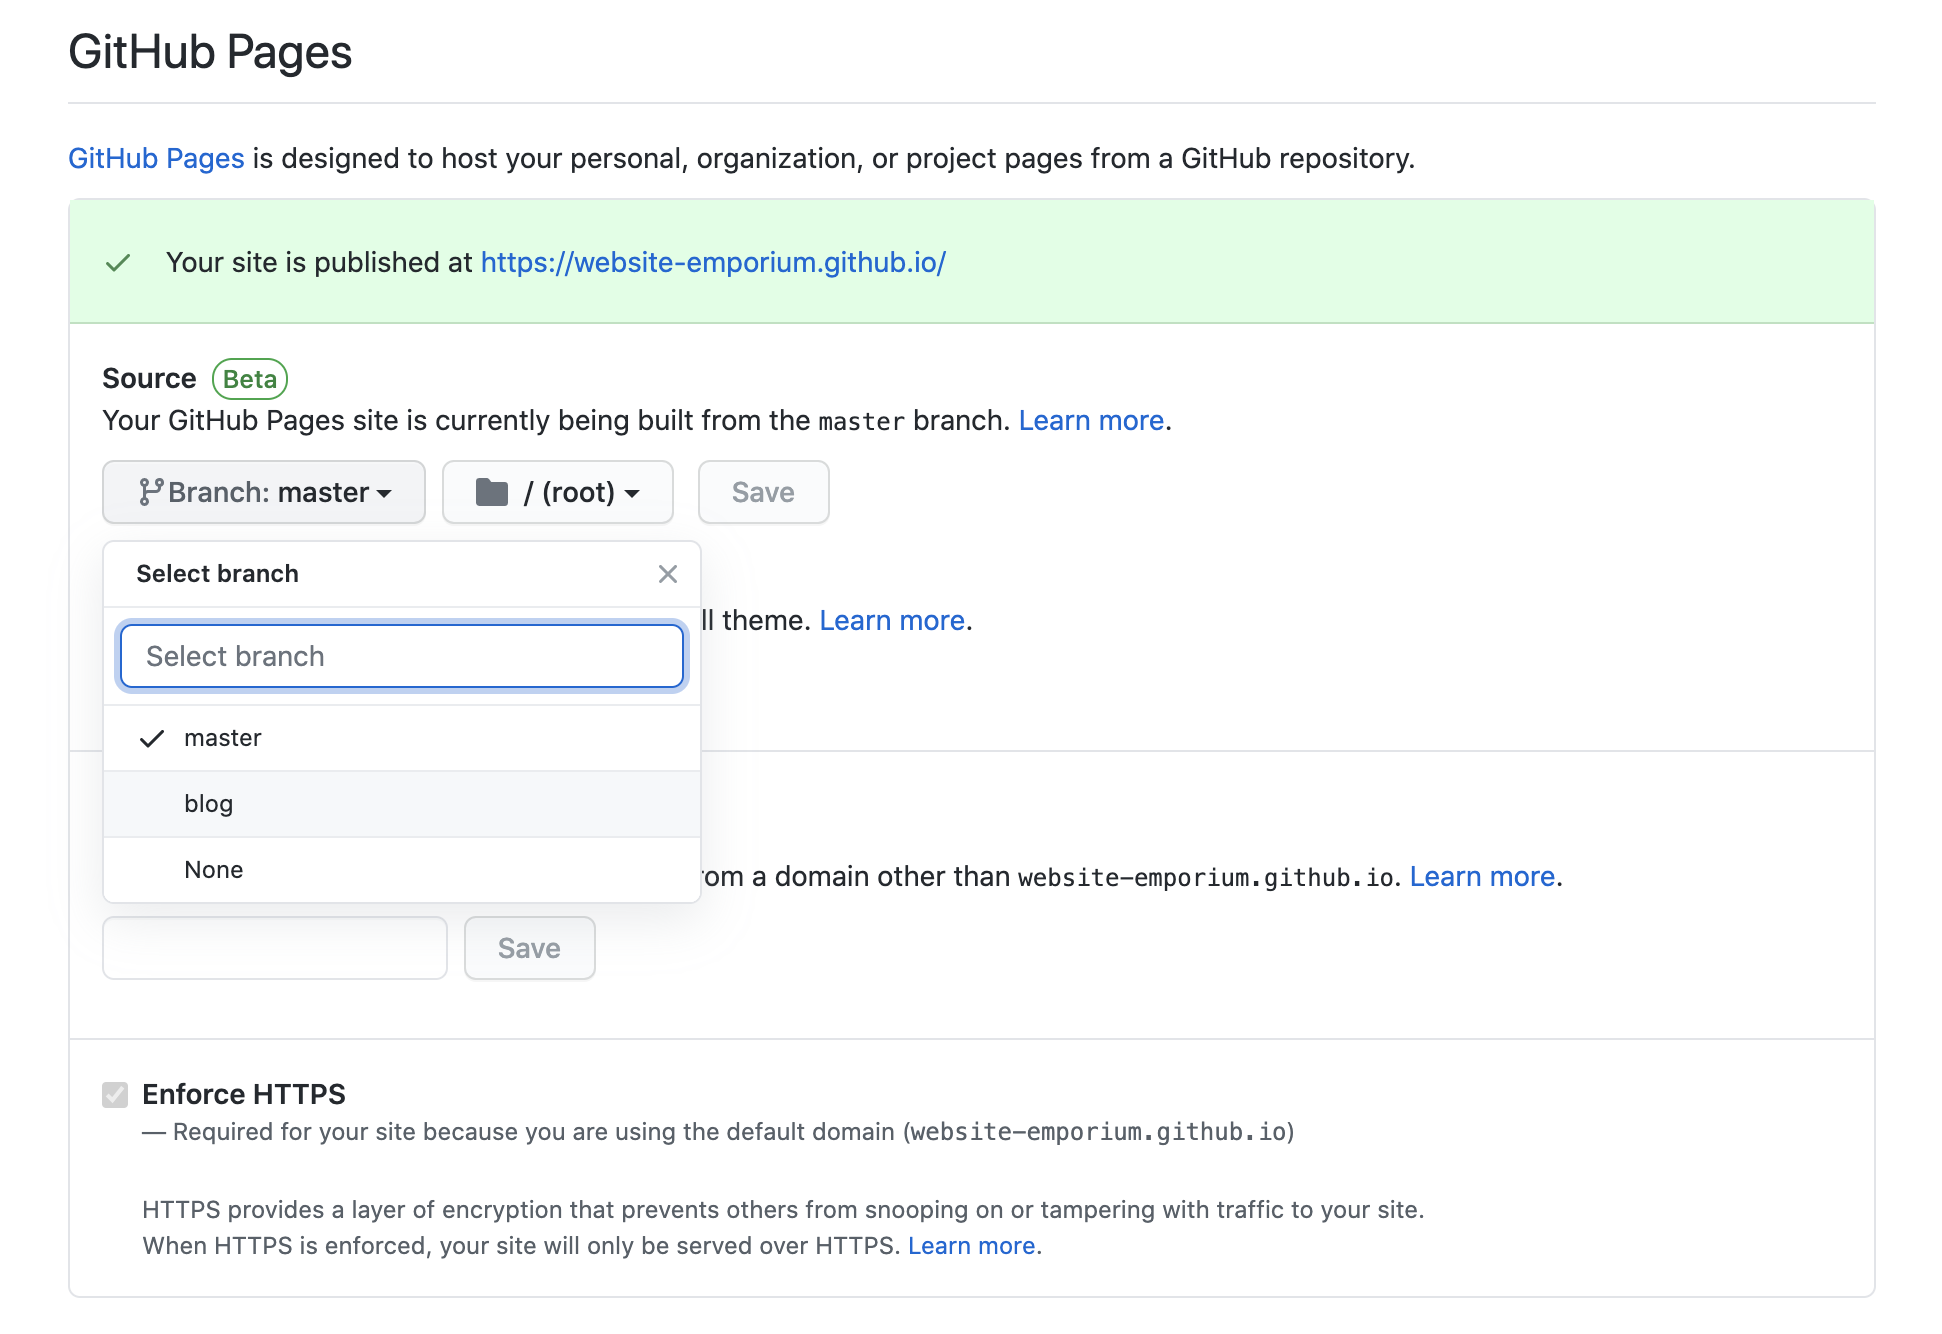
As soon as you’ve made the name change, Github will start putting your site live right away. Once it’s done, you’ll see the following message a little further down on the settings page:
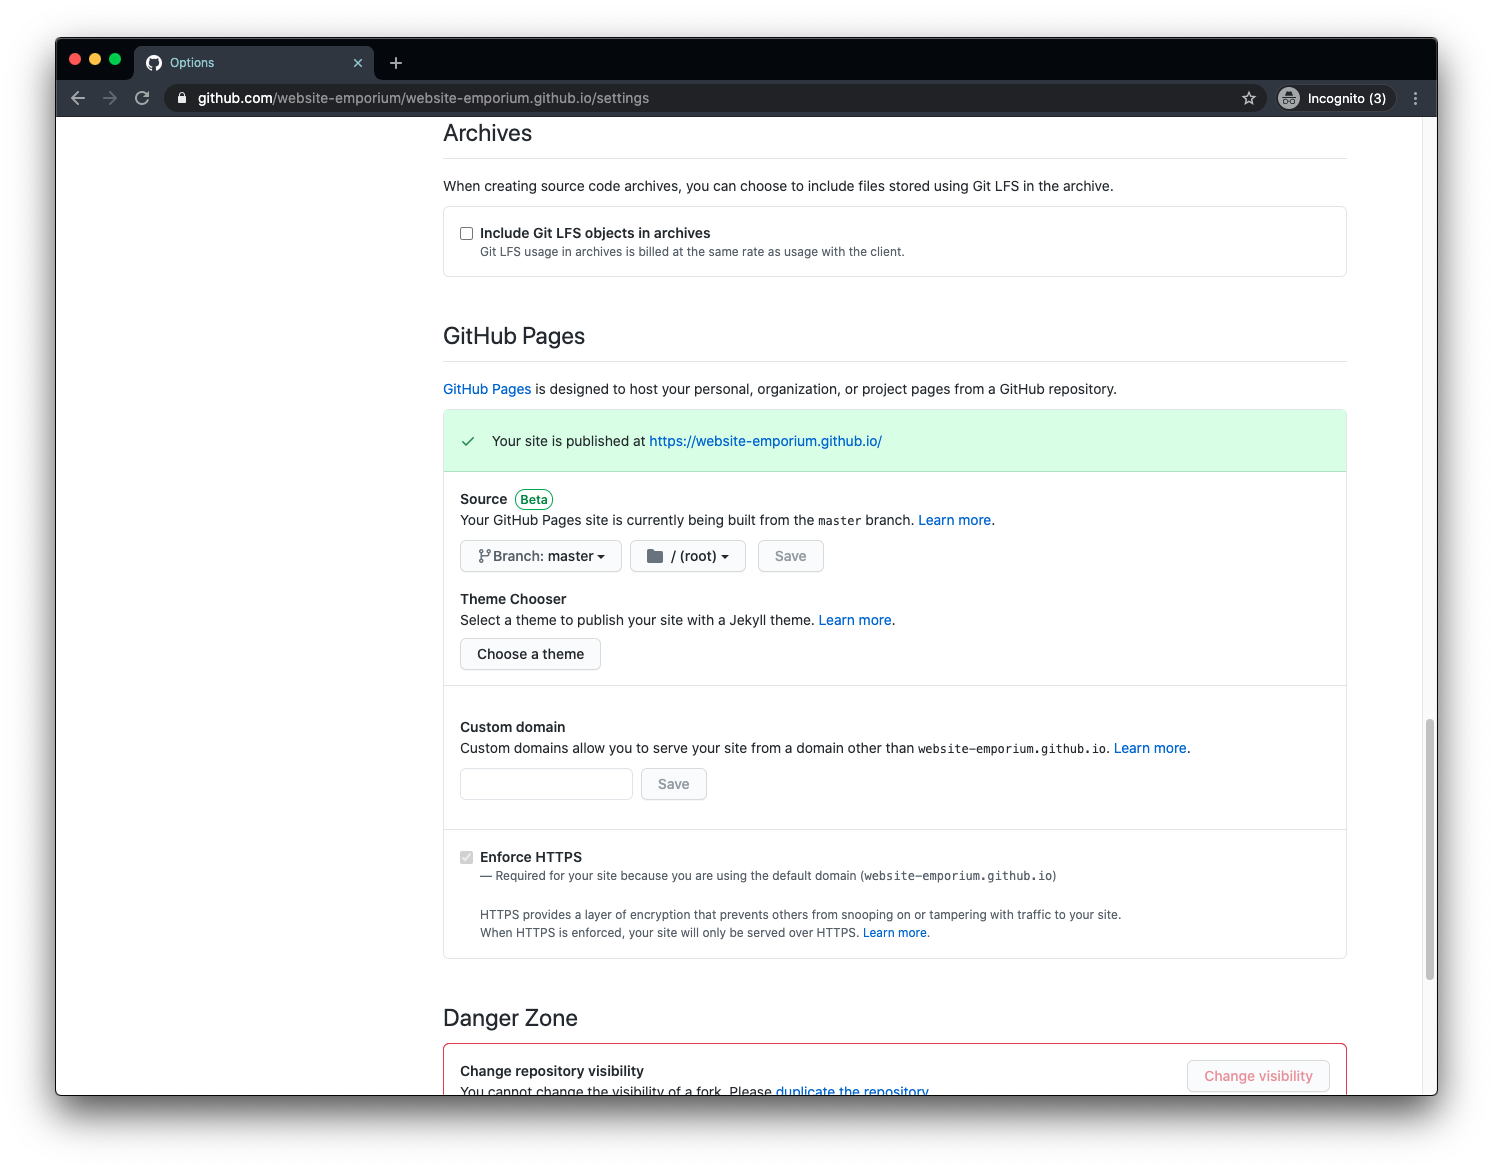
Within a minute or so, you’ll see it live at: https://GITHUB_USERNAME.github.io
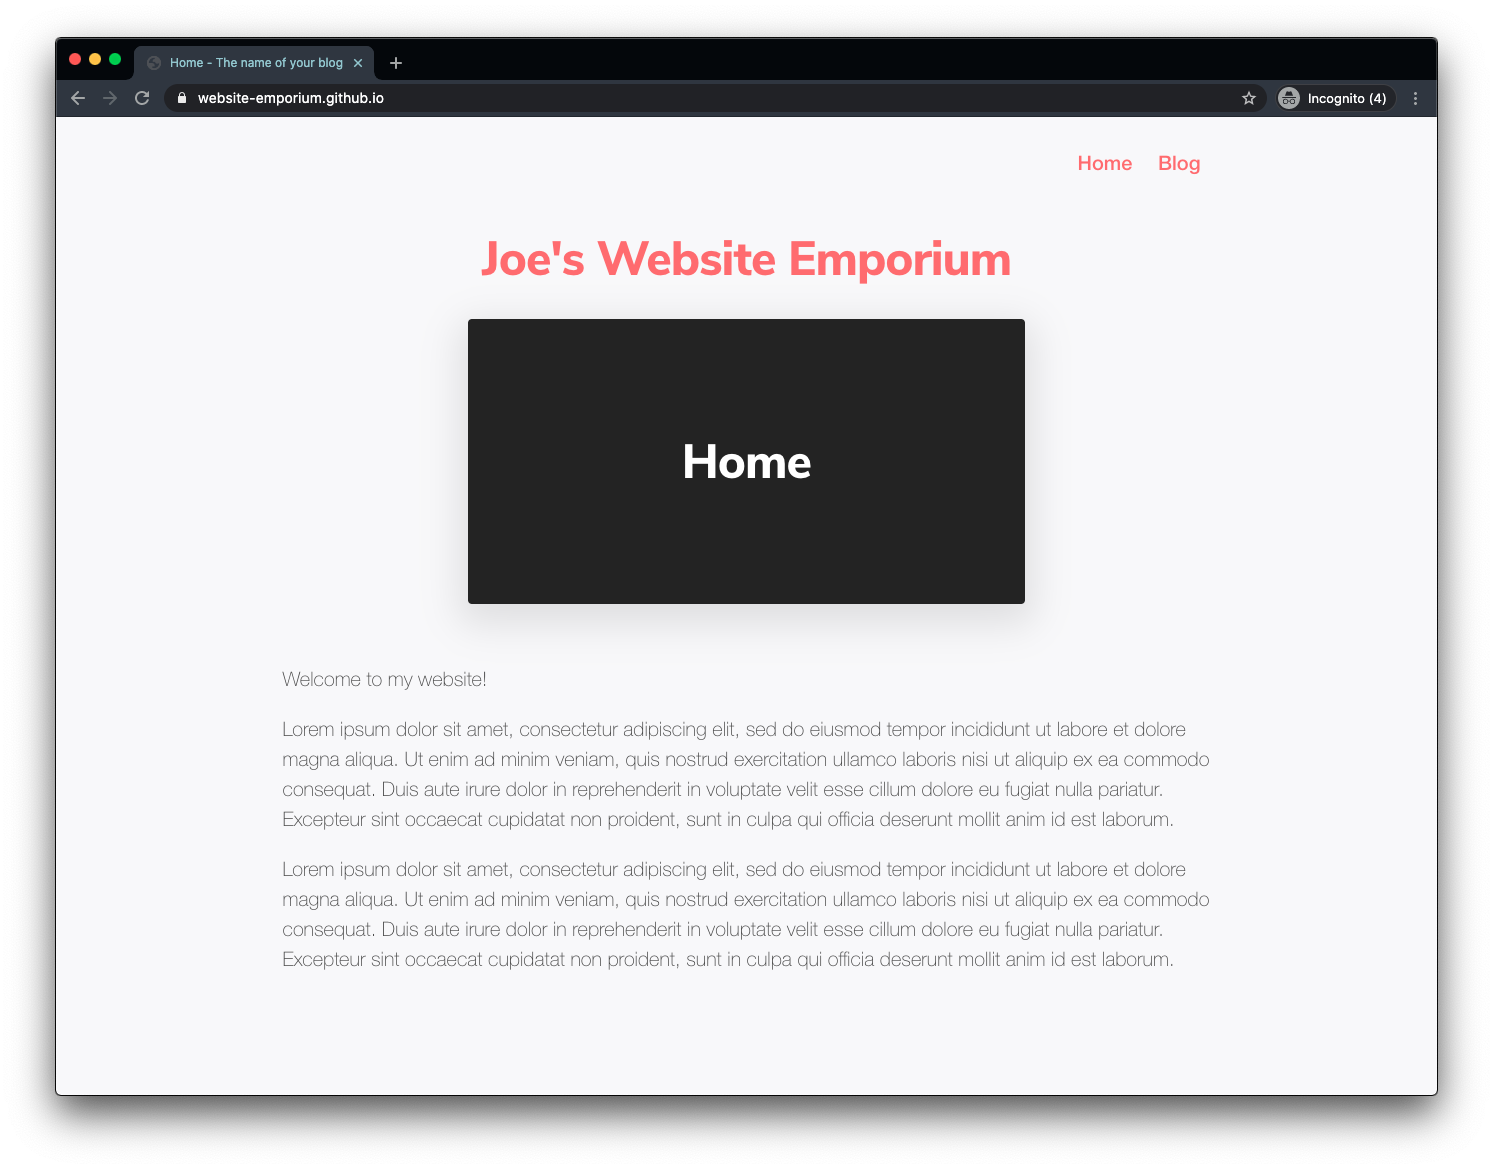
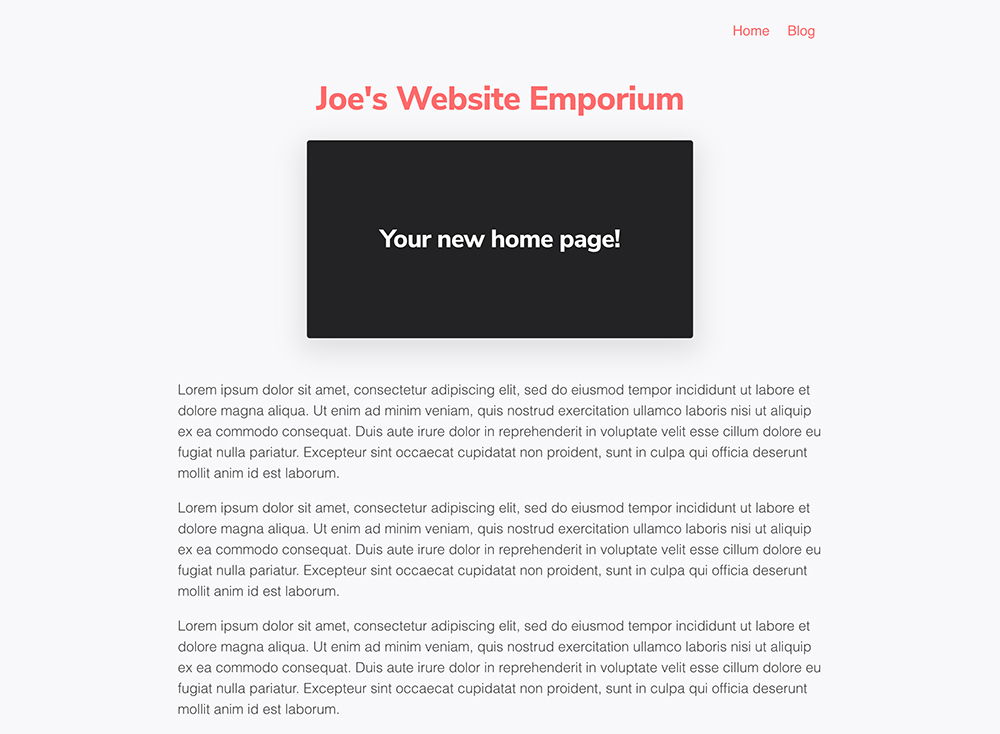
Here’s the example site from these images being displayed at https://website-emporium.github.io. You now have a site on the internet having written zero code and spent zero pounds - go you!
Change a page to see it change live
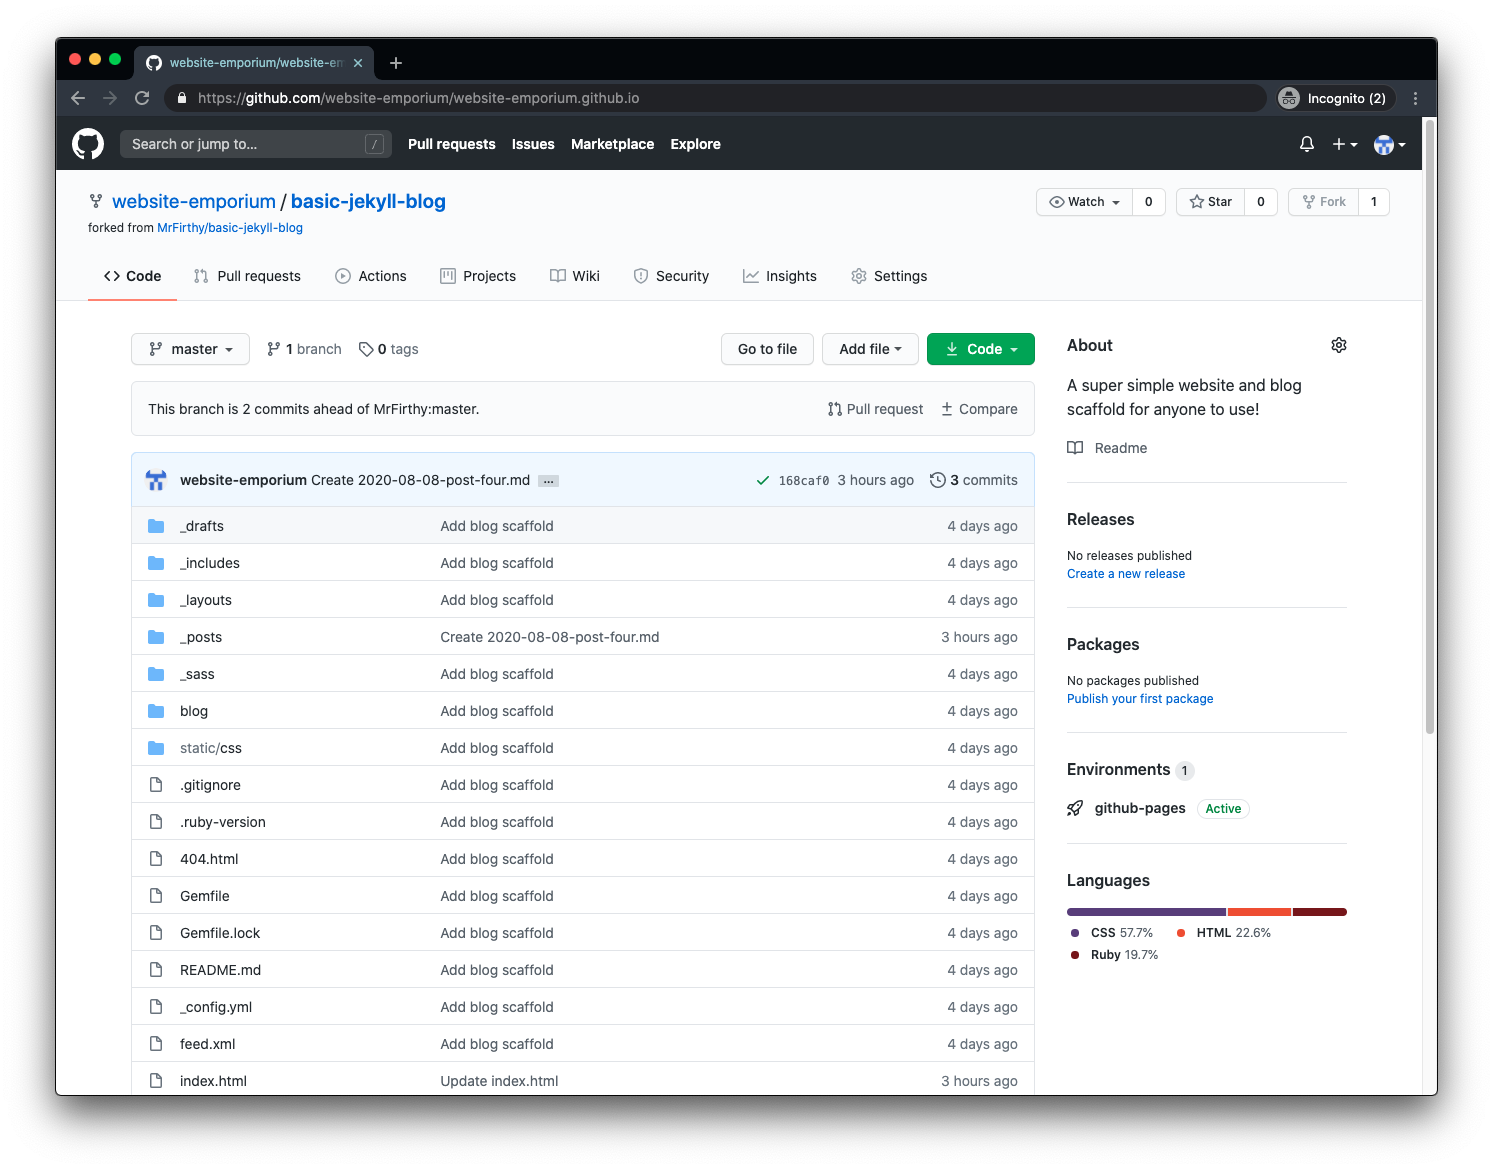
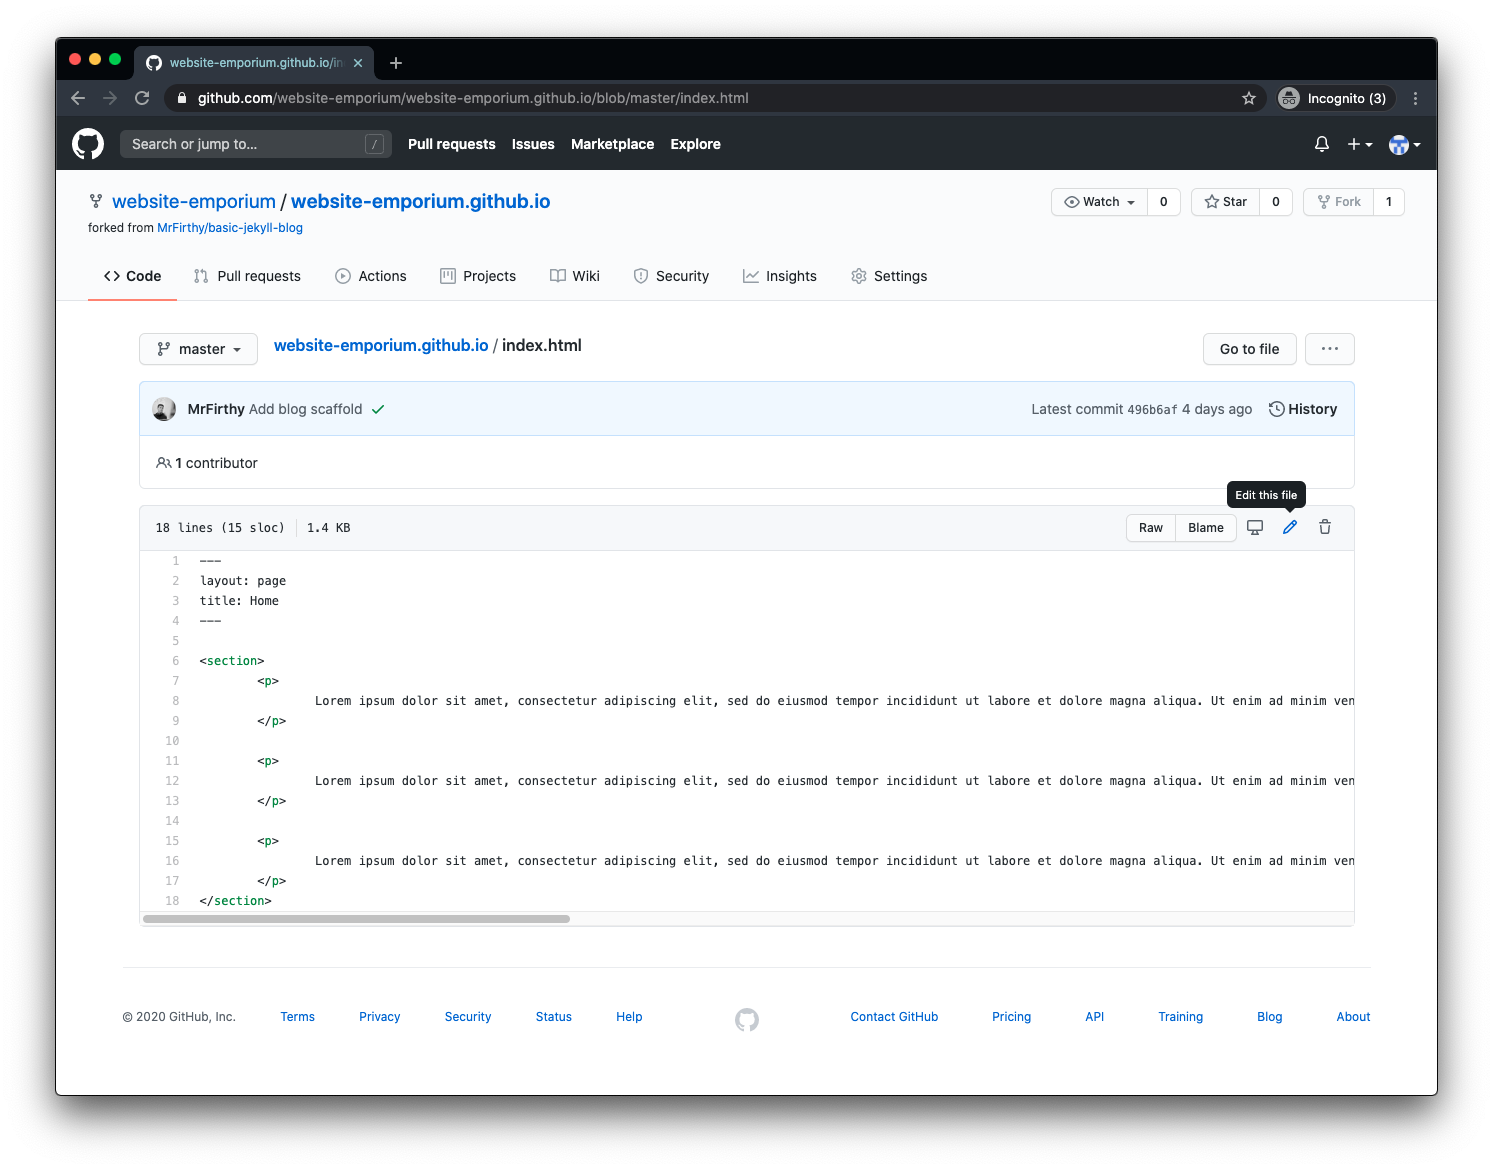
So now you have something live on the internet thanks to a couple of button clicks and a name change - now it’s time to make it your own. You’ll want to get rid of all of that dummy text, and start adding some writing of your own. What’s great is that you don’t need a code editor or even coding experience to do this, as Github lets you do it all from their website. To change any file, you just navigate to it and hit the edit button in the top right of the page (the one with the pencil icon).
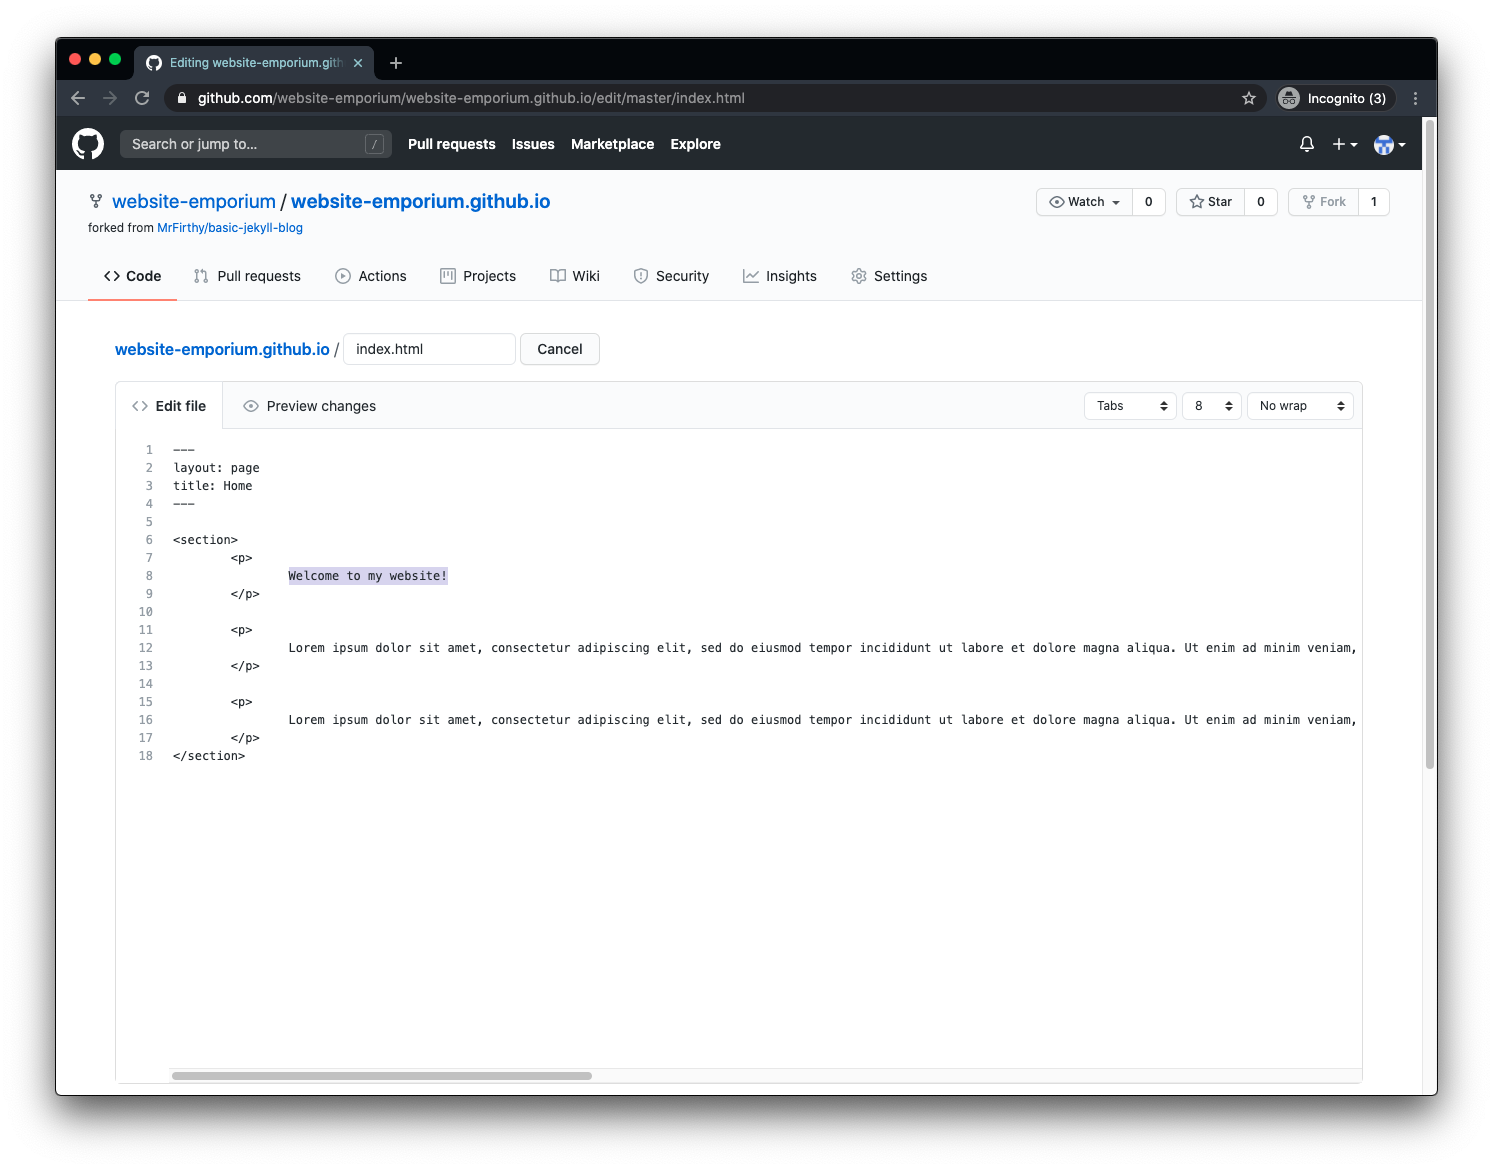
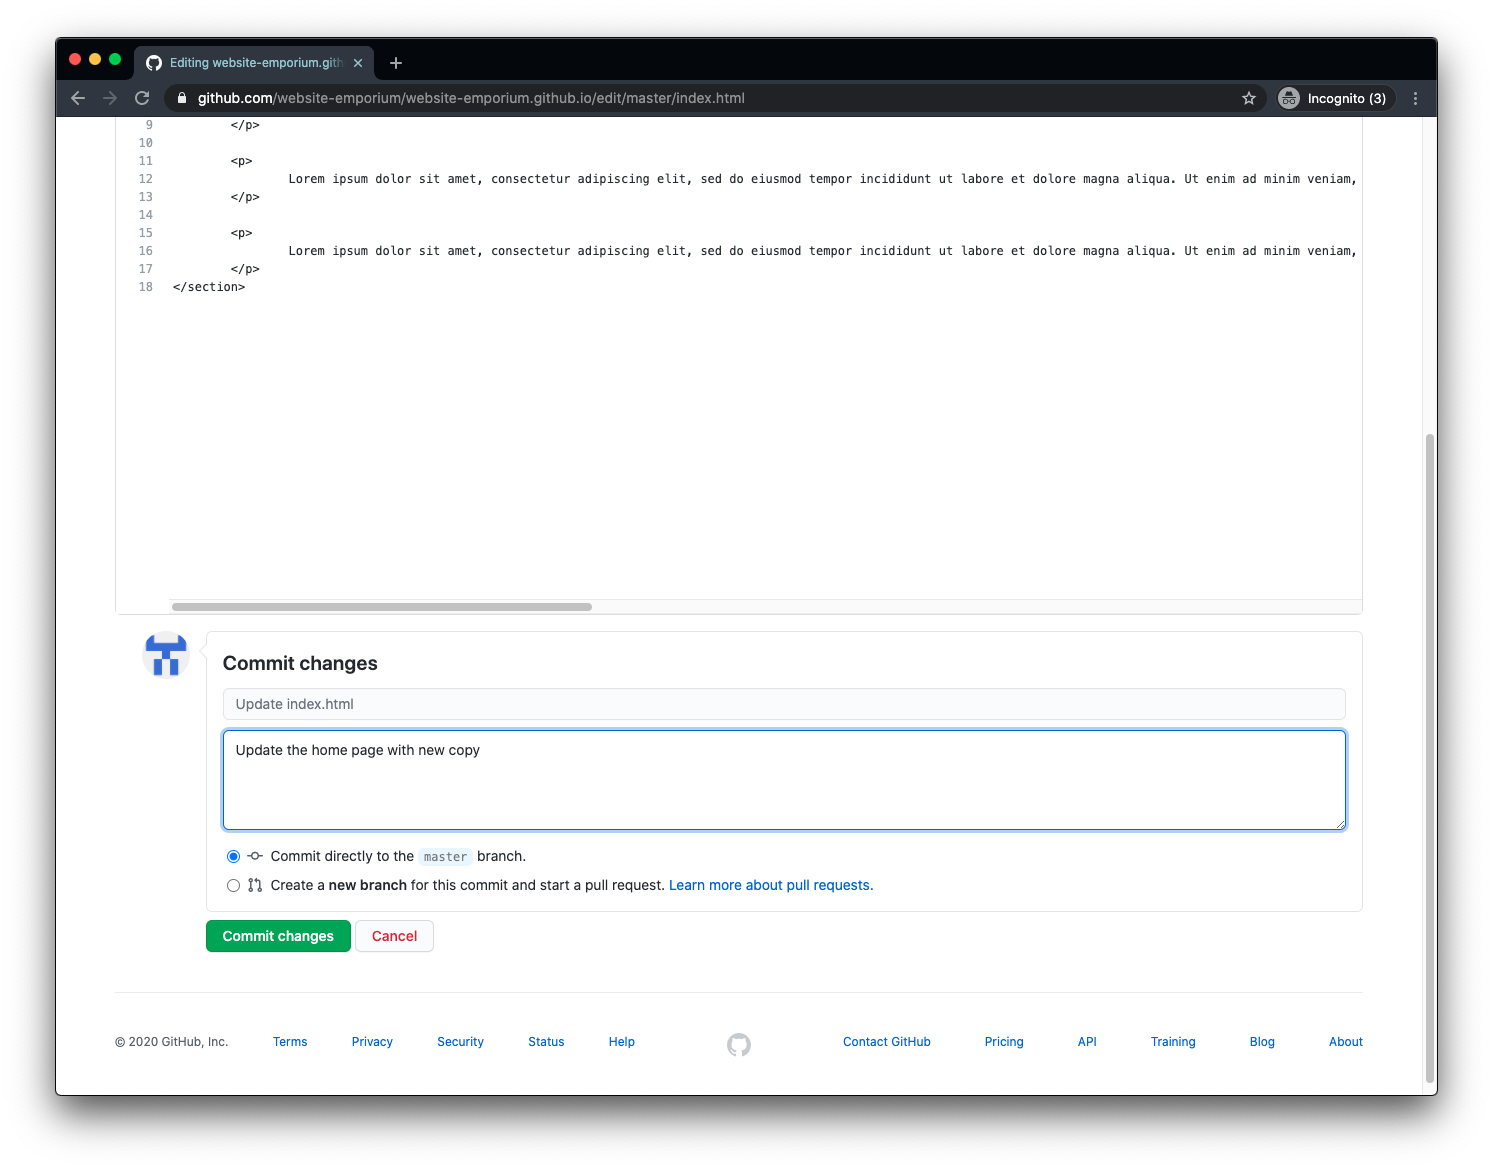
You’ll then be provided with an editable version of the file where you can make any changes you want. After you’re happy, you can hit the big green button at the bottom of the page, and Github will get right to deploying those changes so you can see them live (this takes about 30 seconds or so usually).
Make a new page
Alright, the last thing you’ll probably want to do it add a page of your own! All of the blog posts are kept in a folder aptly named _posts, and deleting these will remove them from your blog nice and cleanly. All posts follow the same naming convention in Jekyll:
YYYY-MM-DD-name-of-post.md
The .md is to identify the file as a markdown file, so that Jekyll will know what to do with it.
What’s markdown?
Good question. Markdown is a lightweight markup language - a way to write a form of code that feels a lot like regular writing. Like coding whilst not really coding. For instance if you want to bold something you write **bold**, or to italicise something, it’s *like this*. Having this in your blog allows you to do funky things like add images, quotes and headings as well as the standard things like bolding and underlining text. There is a complete markdown cheatsheet here to help you out. Importantly, you can also just write in plain text, without doing anything fancy, and it will work fine as well!
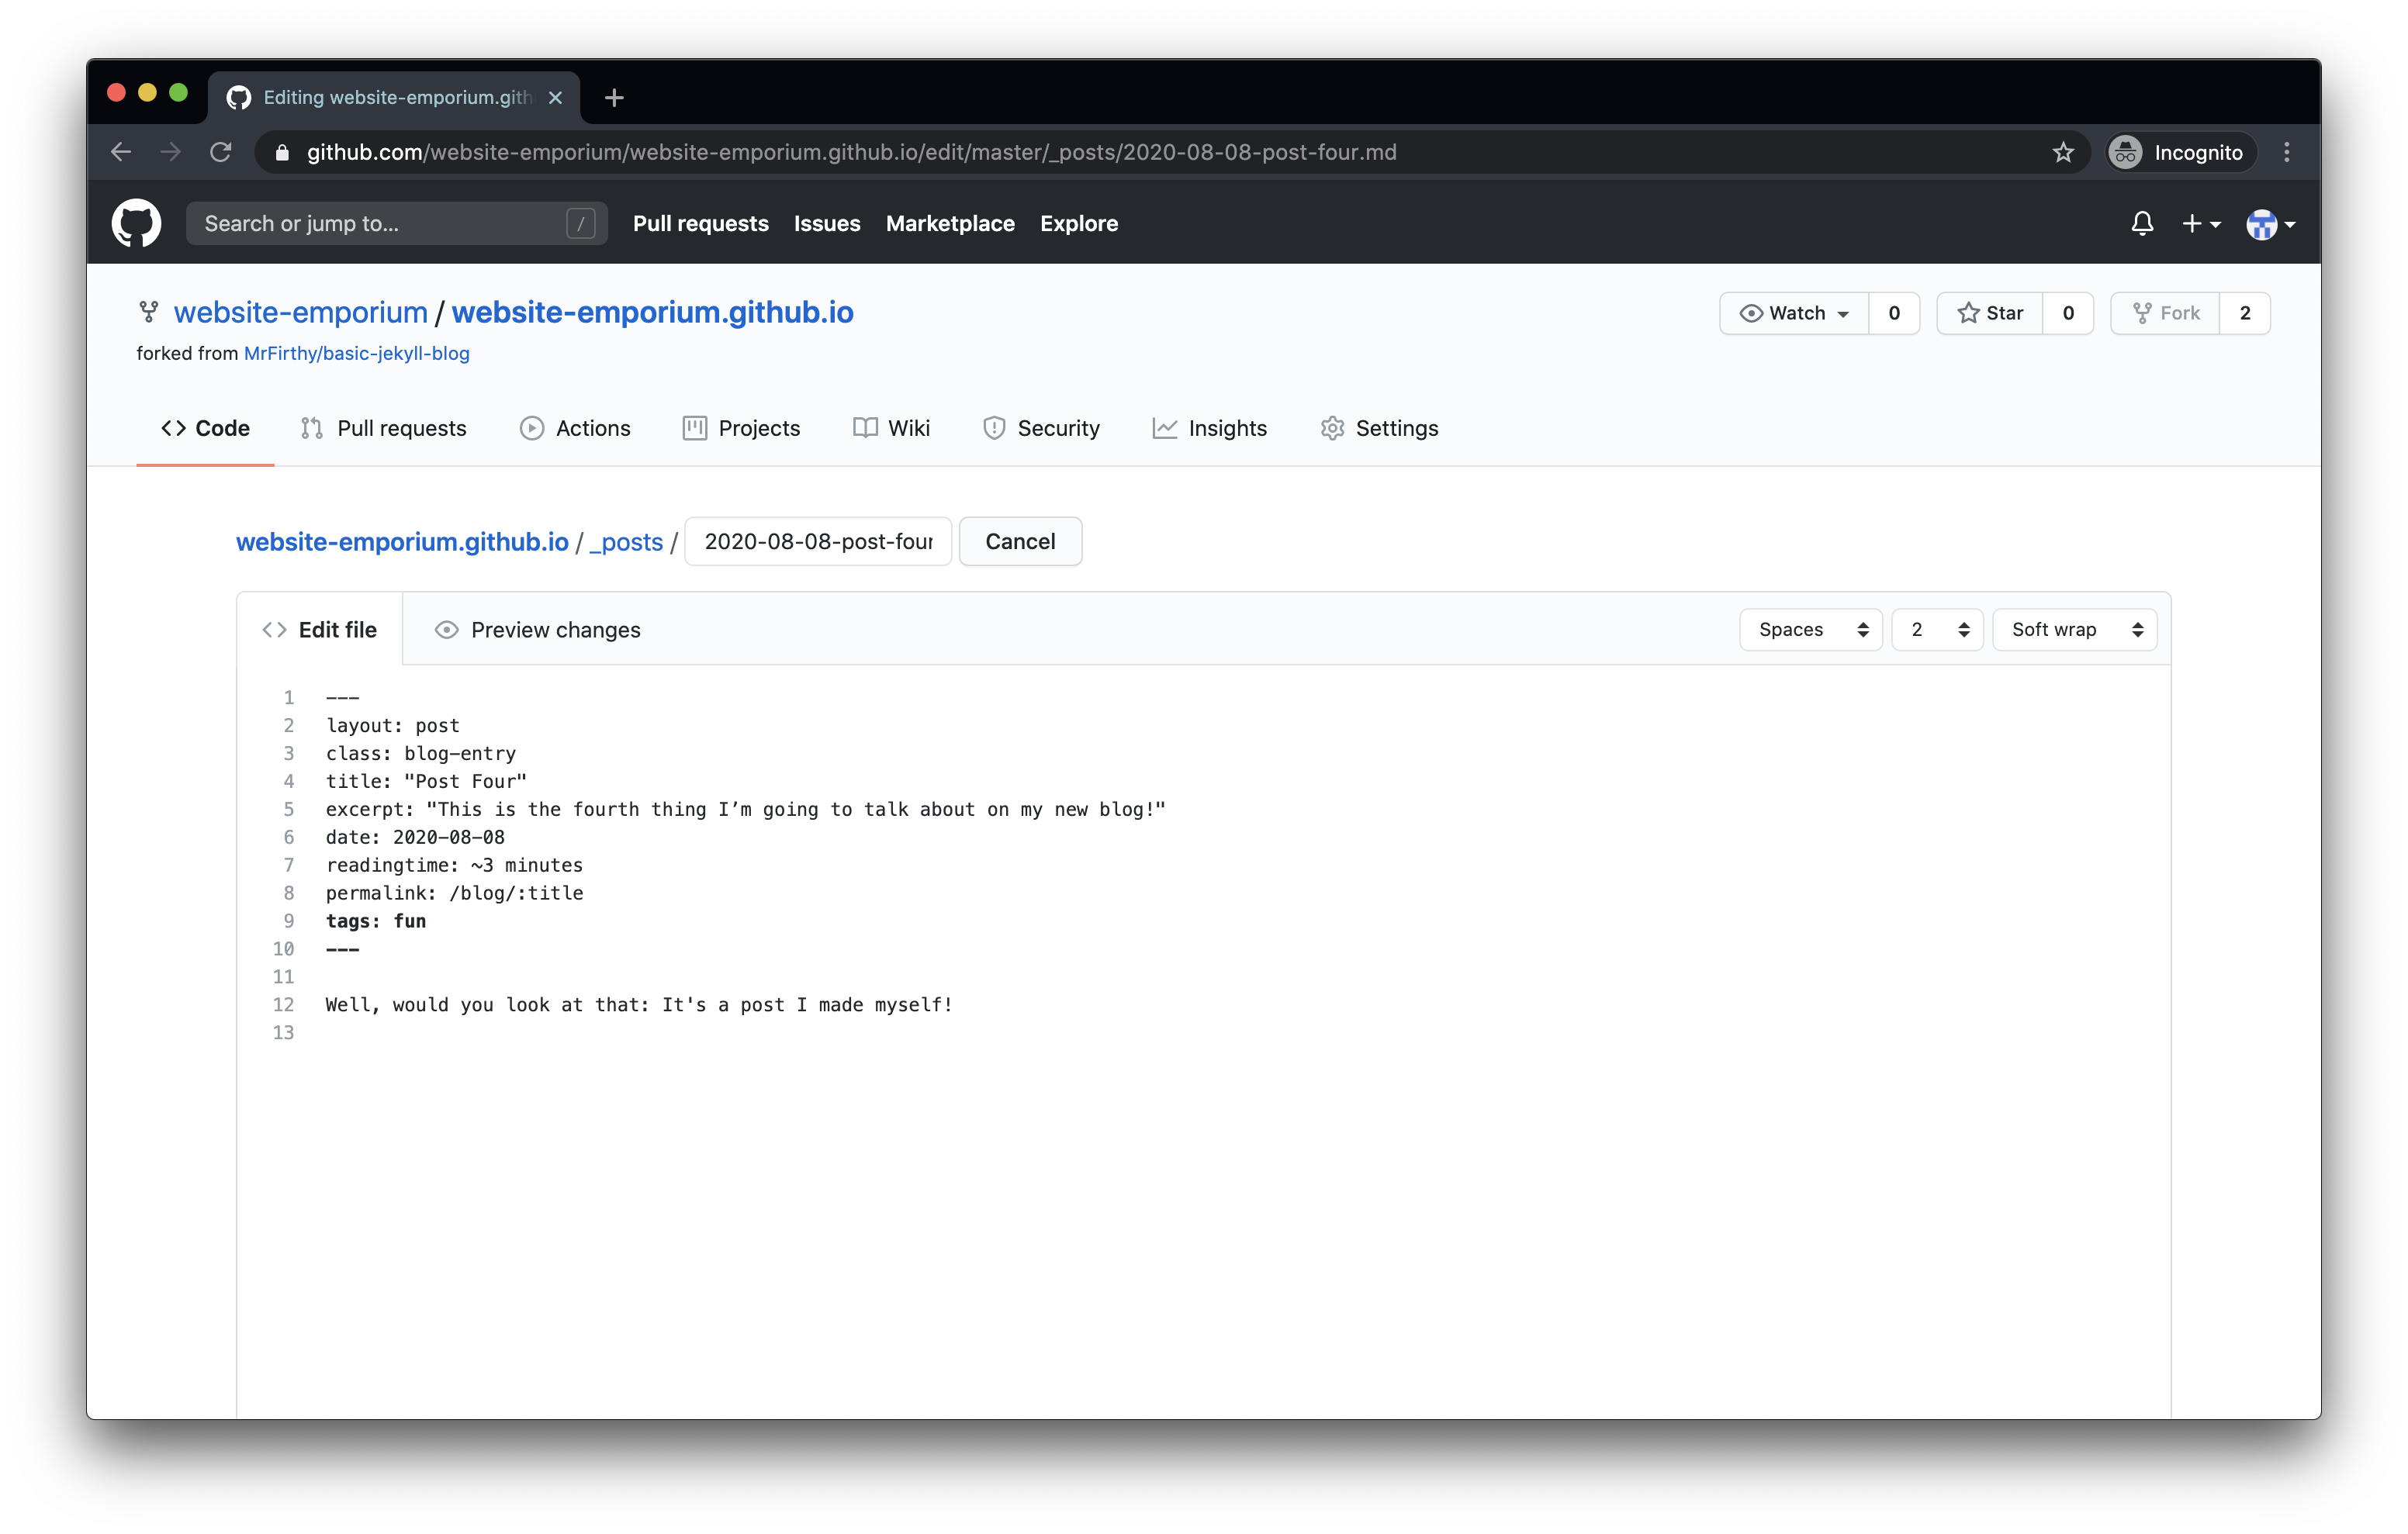
Anyway with your file made, you can use the following as a starting point for your blog:
---
layout: post
class: blog-entry
title: "Post Four"
excerpt: "This is the fourth thing I'm going to talk about on my new blog!"
date: 2020-08-08
readingtime: ~3 minutes
permalink: /blog/:title
tags: fun
---

Well, would you look at that: It's a post I made myself!
The content between these dashes is known as “front matter”, and it basically tells Jekyll what it needs to know about the page that you’re making. As it’s a blog, it follows the layout I’ve created called post, and the class line is for styling. Some of these lines are optional, such as readingtime and tags, but the rest are worth keeping but altering for your purposes.
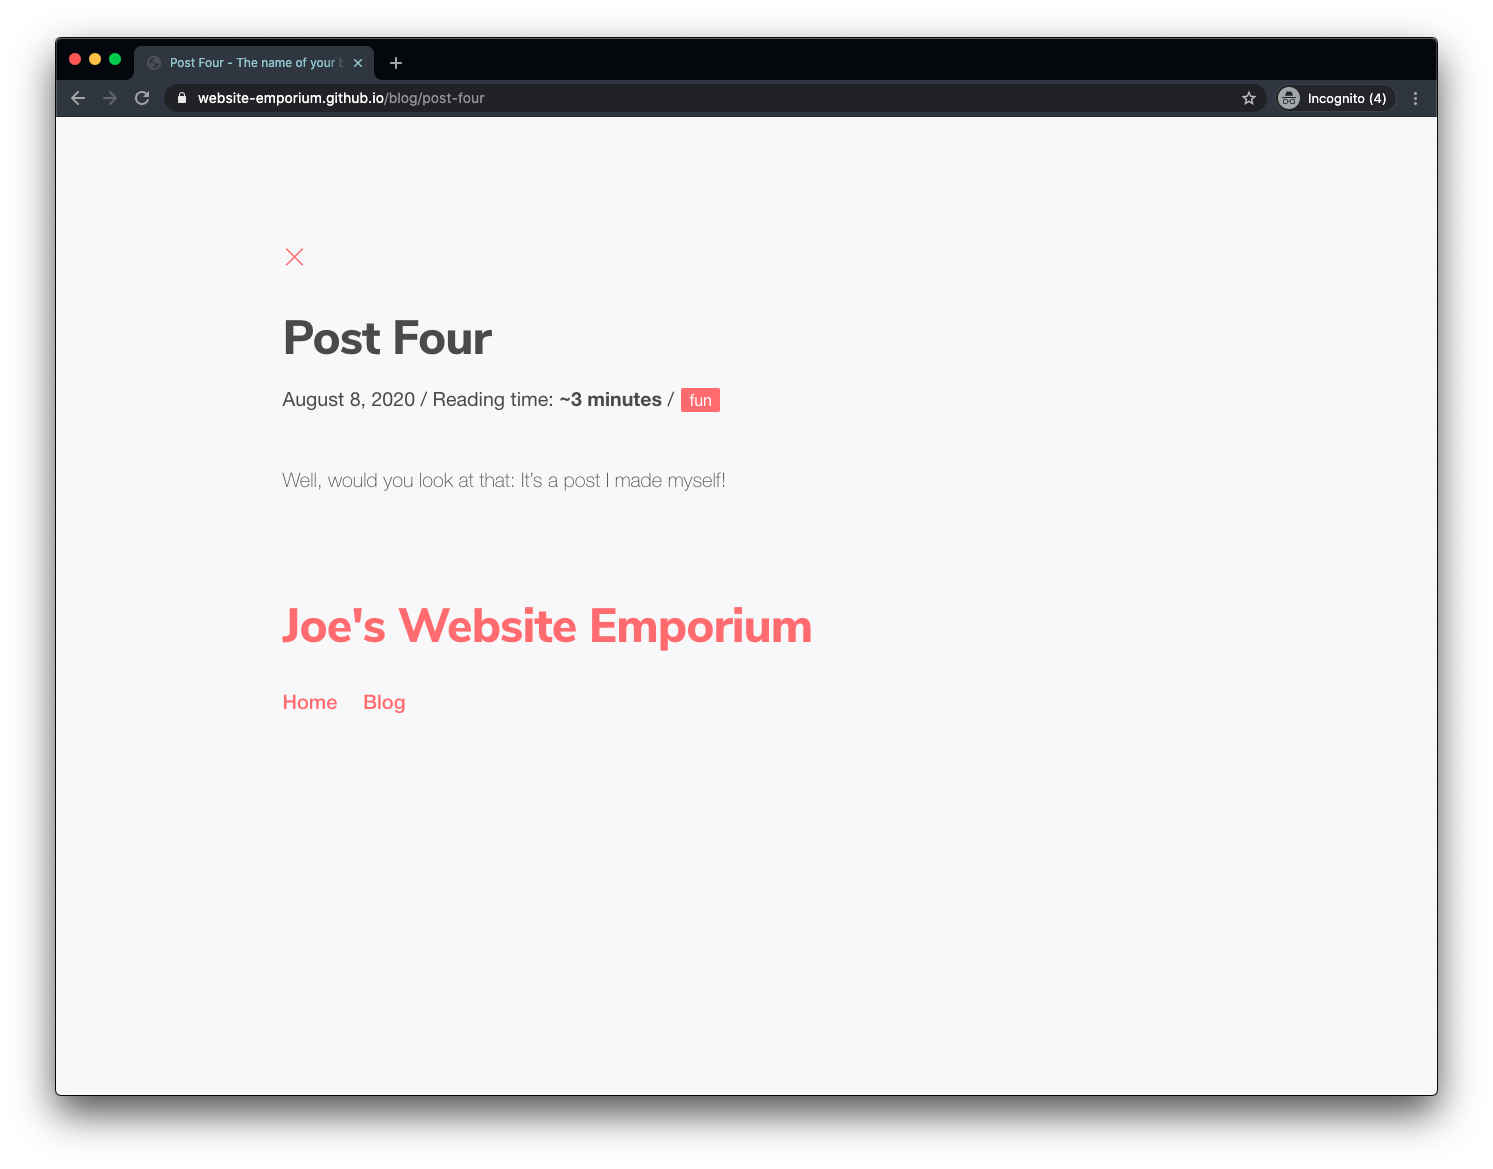
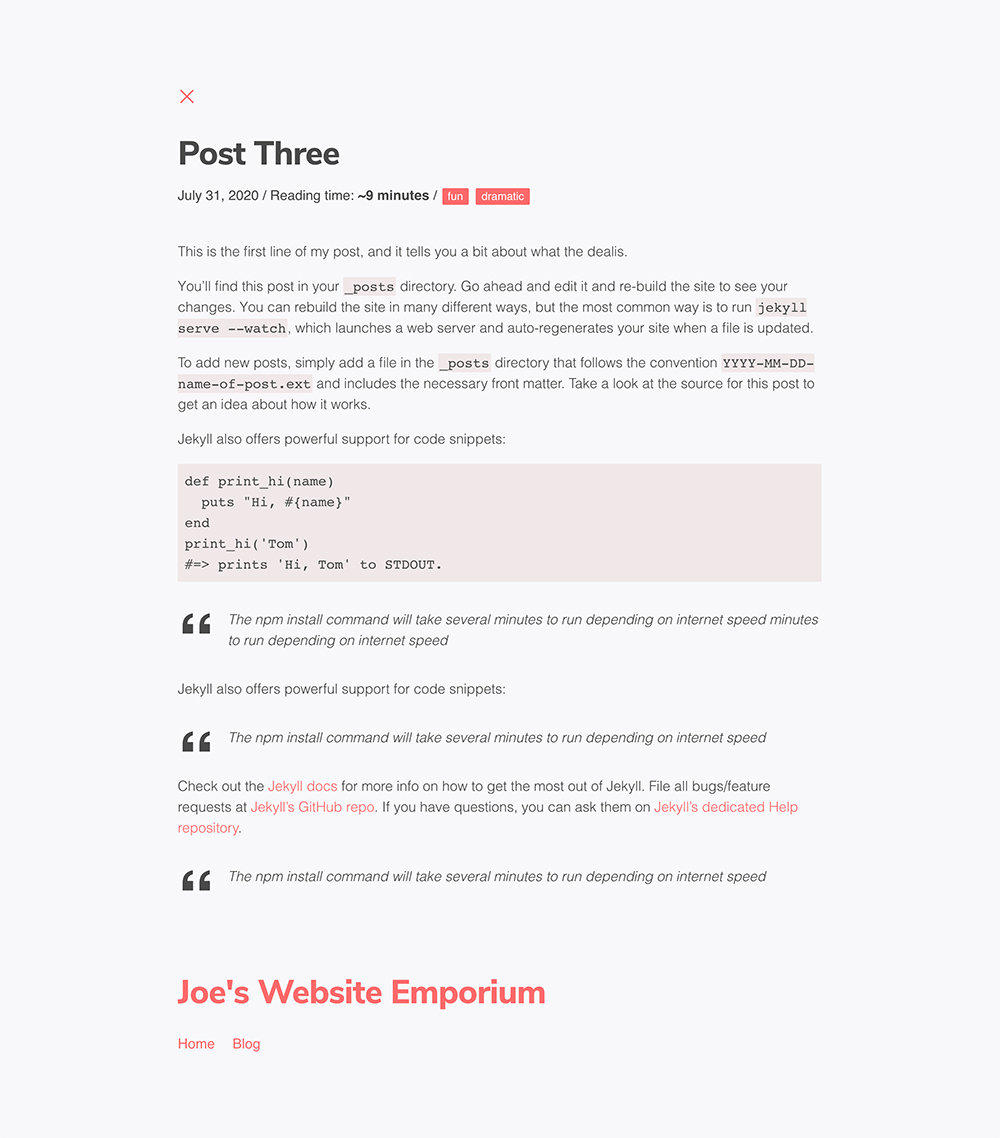
Everything underneath the dashes is your blog content! You can write everything in plain text or markdown, and it’ll be interpreted perfectly for you online when you commit your changes. Here is a complete markdown cheatsheet here to help you out.
Adding a custom domain
Now it’s live, you might want a slightly nicer URL. Luckily it’s a simple process to add a custom domain to your new site that involves popping your domain name in, and then adding a DNS record to your domain to verify that you own it. If you have a site you like already, but would like to use Github pages for your blog, you can also configure subdomains as well as apex domains (I could rock blog.mrfirthy.me if my site was elsewhere and I didn’t want to move it).
All of this is visible from the settings page in the repo you set up.
Features
- 📈 Google analytics (controlled through config)
- 🎨 A basic theme ready to go
- 👩🎨 Easy to change colours (just edit
_variables.scssand change the hex codes) - 🏠 A home page, ready to be edited
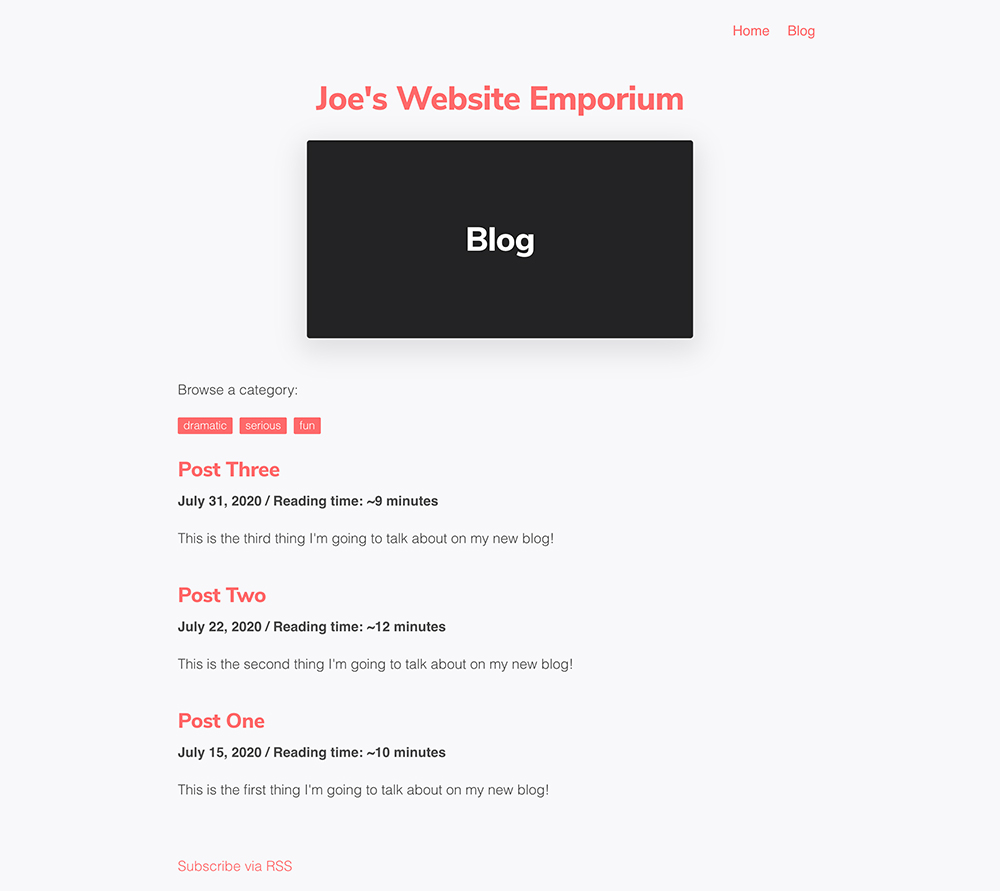
- 🖋 A blog page that lists all blogs
- ✍️ Three example blogs, written in markdown
- 🧾 Every blog comes with options for a title, excerpt, publish date, tag(s), and reading time
- 👀 A auto-generating RSS feed for people to subscribe to your posts
- 📖 Pagination built in (you can control how many posts per page are shown in
Config.yml - 🔖 A post-tagging system built in, so users can browse by tag.
- 🚦 A small navigation for movement between the pages
- 🔄 It can be run locally, where your browser will refresh every time you make a change
- 👩💻 Once uploaded to GitHub, it can be published with one command on the terminal
- 📙 Full setup instructions in the
README.mdfile.
Visuals
The layout is nice and simple, and you can change any of the colours by simply changing the _variables.scss file in your new project folder. The colours are stored in what is called ‘hex codes’.
Pros and Cons
Pros
- ✅ You get to write blogs in markdown, and jekyll compiles it automatically.
- ✅ It costs no money! The only expense is a custom domain if you want one.
- ✅ For the coders amongst you, you can deploy from the command line.
- ✅ There are even theme options built in so you can get something looking snazzy right out of the box without touching CSS (if you don’t like the default theme I’ve added).
Cons
- ❌ It can be a little limiting. Custom tagging is a problem like that (thanks for Long Qian for finding the neatest way possible to make this happen in a Github pages version of Jekyll).
- ❌ You build everything yourself. That’s a struggle if you don’t have too much experience coding, but to be honest once the structure of the blog was made, I haven’t needed to alter much - just ad-hoc style changes for when I add a quote or list that I hadn’t before. Hopefully you’ll find this easy to alter and besides, my code is around to steal if you get stuck.
FAQs
What can I do if I run into an issue with the site?
Give me a shout! the best thing to do would be to submit an issue on the basic-jekyll-blog repository (please do check previous issues on there in case you’ve encountered the same thing). I’m also available on Twitter @MrFirthy.
How do I do X in markdown?
There is a complete markdown cheatsheet here to help you out.
Aren’t you worried that your code is out there?
Nope, all code is out there. It actually encourages you to write better code.
I only want the blog and not the home page, is it easy to remove
Absolutely! I’ve created a blog branch that removes the home page and navigation, and sets the blog as the home page. To switch to this mode, all you need to do is head to the settings tab of your repository, and in the “branch” dropdown under the “Github pages” section, select blog, then hit save. After a minute or so, your site will be updated!
Note! If you choose this option, you’ll need to make sure you’re changing files on the blog branch and not the master branch. You can see which branch you’re working on by checking the top left corner of your page when you’re on Github.
How do you handle things like custom emails now you don’t have hosting?
You can always create custom emails on a domain you own. I actually take advantage of Google’s G Suite, so that I can handle my personal email and files in a consistent, but separate, place to my work email and files.
Are you going to keep your blog up to date this time?
Oh for sure…probably. The good news is that I could contribute weekly for 6 months, disappear for 3, come back and write 8 posts in a day and wouldn’t feel like I’d left. Now the way I write posts and deploy them is baked into how I work, using the tools I choose to use daily for keeping notes and writing anything else I need to.
Running the site locally
There are many reasons why it might be useful to run your site locally before publishing your content live on the internet, chief among them being checking and editing your blogs before you share them with others. This is very easy to do with your new site, you’ll just need to use a terminal (you can learn about that here). Here are the steps to run the site locally. (Note: if you’re happy just using the Github site to make your changes, feel free to ignore this).
- Clone your repository you’ve made.
With your terminal open, navigate to the place you want to store your site cd using the
cdcommand, then rungit clone https://github.com/YOURNAME/YOURNAME.github.io.git. - Move into your project folder
cd YOURNAME.github,io - Install what the project needs to run locally
bundle install - Run your site locally.
You can use the command
bundle exec jekyll serve --watch --livereloadto run the site locally. Once you’ve run this command, you’ll be able to see the site running athttps://localhost:4000. The arguments in that command mean that it will watch your site folder for any changes you make to your site files, and will reload your browser automatically when you make a change - cool! - Publish any changes.
When you’ve made changes locally and want to deploy them to your live site, you’ll need to pop some commands into your terminal to do that. Typically you’ll use
git add .to add all the files,git committo mark your changes with a description, and thengit pushto push them to Github. For a full guide on using Git through the terminal, take a look here for a simple guide.
Conclusion
Depending on what you hope to use it for, you could free yourself from a Wix or SquareSpace subscription, or even a yearly hosting cost, by switching over to Github pages. Feel free to copy it wholesale if you’d like (but if you could leave out the blogs I’ve written, and write yourself a different home page, I’d appreciate it).
A site set up in this way is beautifully simple, and the result is that I actually enjoy writing these days, for the first time since I finished writing my book.
Big or small posts, I write it up in markdown using Bear, transfer it over to my repo, hit git push and I’m all set. Depending on how I’m feeling, sometimes I even do some writing in my code editor. That’s what you should be able to do, and it shouldn’t take hours to transition your content from the place you write it to the place you publish it. You don’t have to with Markdown. Markdown forever. Hoorah.