A couple of weeks ago, me and my team shared our home setups with each other now that we’ve been working remotely for a while. Back in July 2020 I shared how I’d upgraded my setup during the first lockdown, so I figured I’d do a proper update. Unlike the first post, the setup is now a little more put together, and importantly now feels like a place I can comfortably spend as much time at as the office (if not more - sweatpants remain sadly frowned upon in most offices). Let’s get started:
Desk
The first thing I changed was my desk! I used to have a smaller one to fit in my tiny flat, but a move to a place with more space allowed me to expand a little. After a little research, IKEA was the answer! I found a site all about IKEA hacks, and found a beautiful combination of these three things:
- FINNVARD trestle with shelf
- LINNMON table top
- ALEX drawer unit
Effectively a set of drawers, a trestle, and a slab of wood, which makes it easily disassembled when I move.
Screens & monitor arm
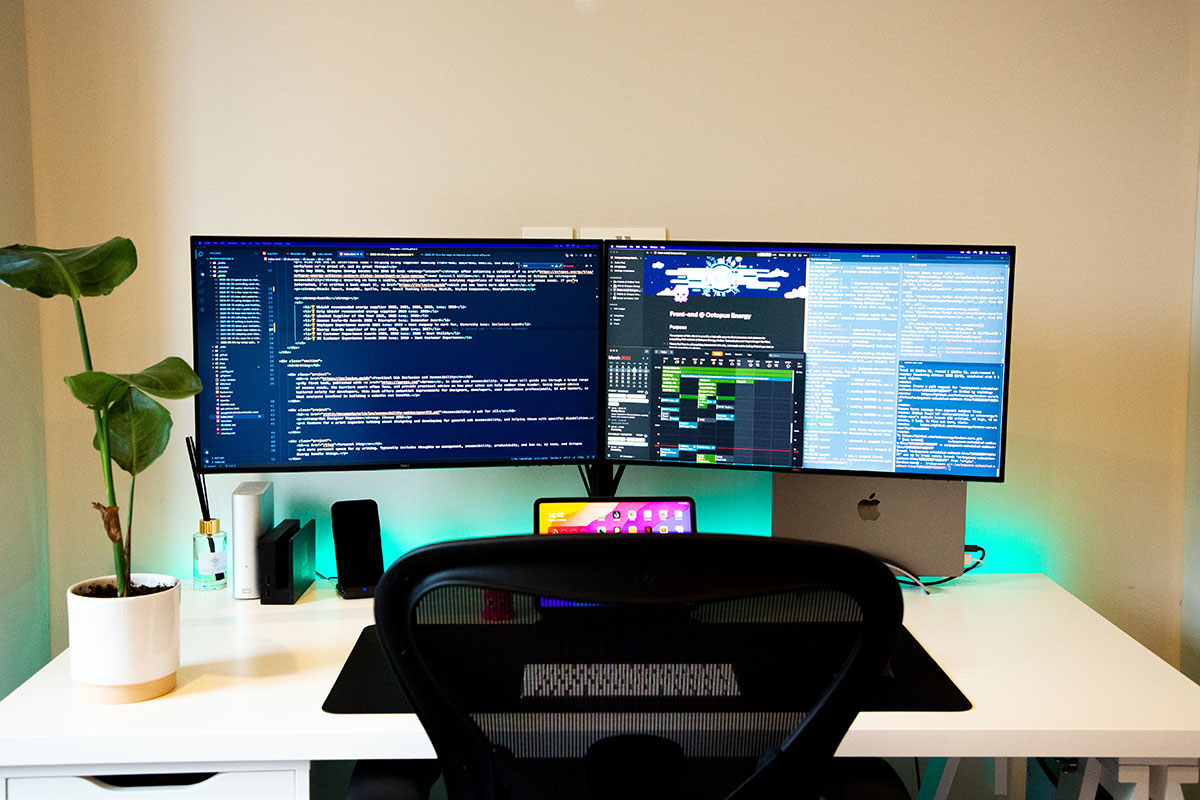
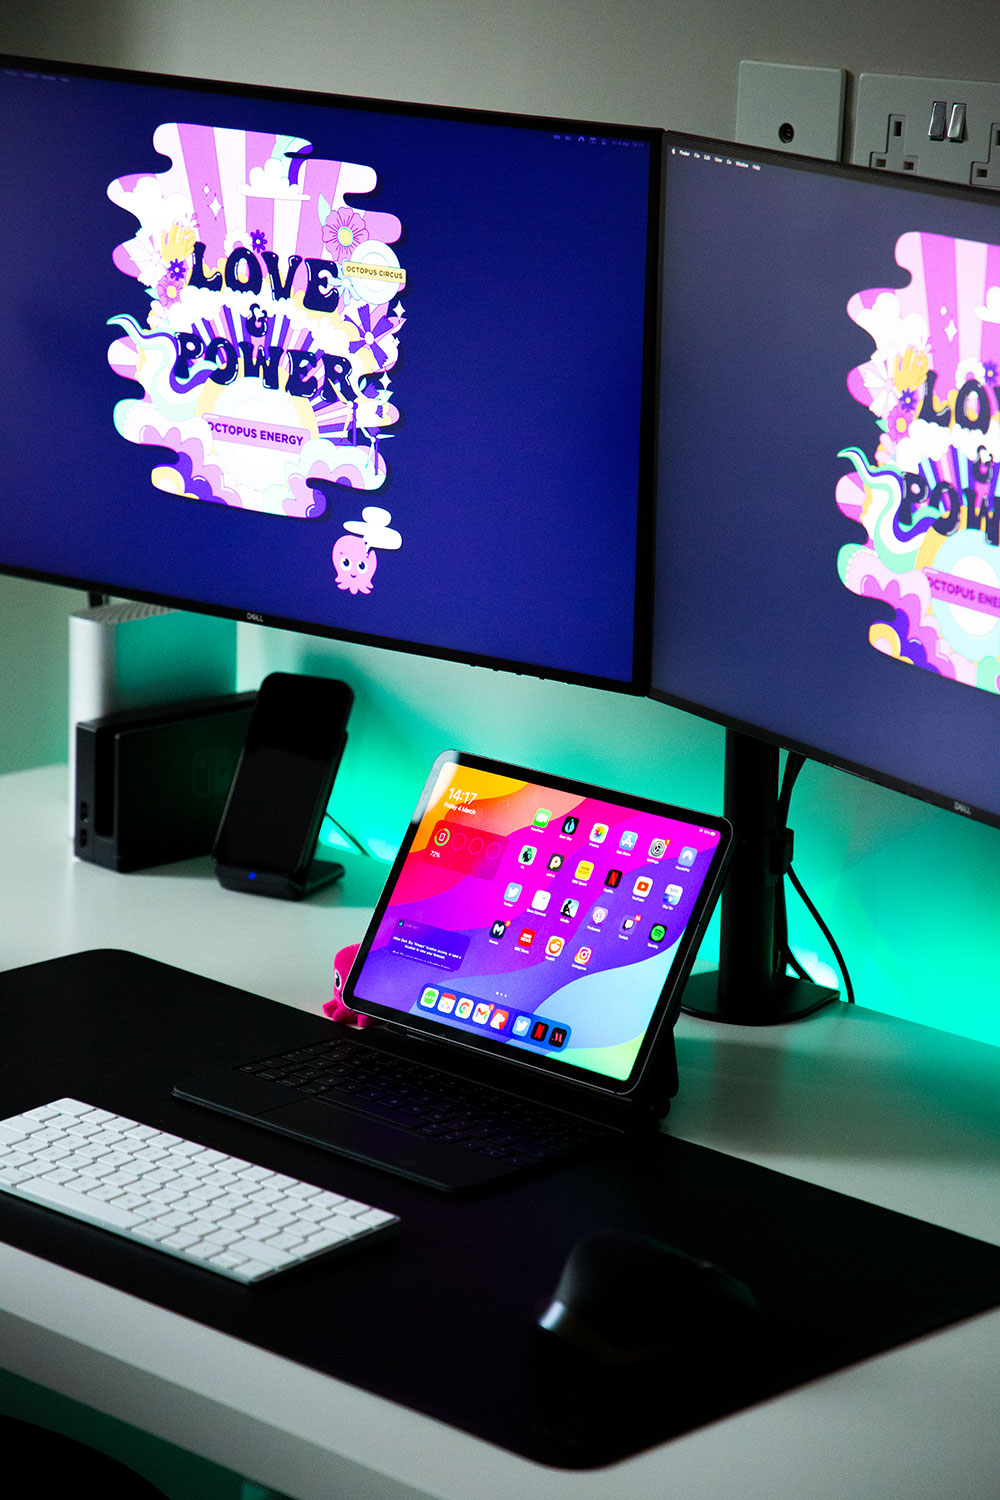
Now that the desk is a little bigger, the monitors needed an upgrade too. I’ve got the same monitor arm as before from VonHaus, but I picked up a couple of 27” Dell monitors from Amazon. I still run them side by side in landscape mode, with my eye line level with the top of the screens for better posture.
I’m a big fan of monitor arms, for a few reasons:
- ☀️ You can change the position and angle of the screen at any point, which is nice for dealing with glare, or sharing your screen
- 🧹 It makes the desk a lot cleaner. You lose the chunky monitor stands and gain a lot of free space.
- 😍 Aesthetically it looks great. This adds nothing, it’s just worth saying!
- 🛠 The size of the connector between the monitor and the arm is consistent across most screens, so you may well be able to mount a monitor you already have
During the first setup, I had to crowbar a hole into the desk to make it work. Thankfully it’s much easier now that the desktop is a slab of wood - it just tightens onto it.
Cable management
The downside of having a desk that’s a slab of wood is that there’s little cable management. To combat that I went on a (cheap) spree on Amazon. Here are a few pictures:
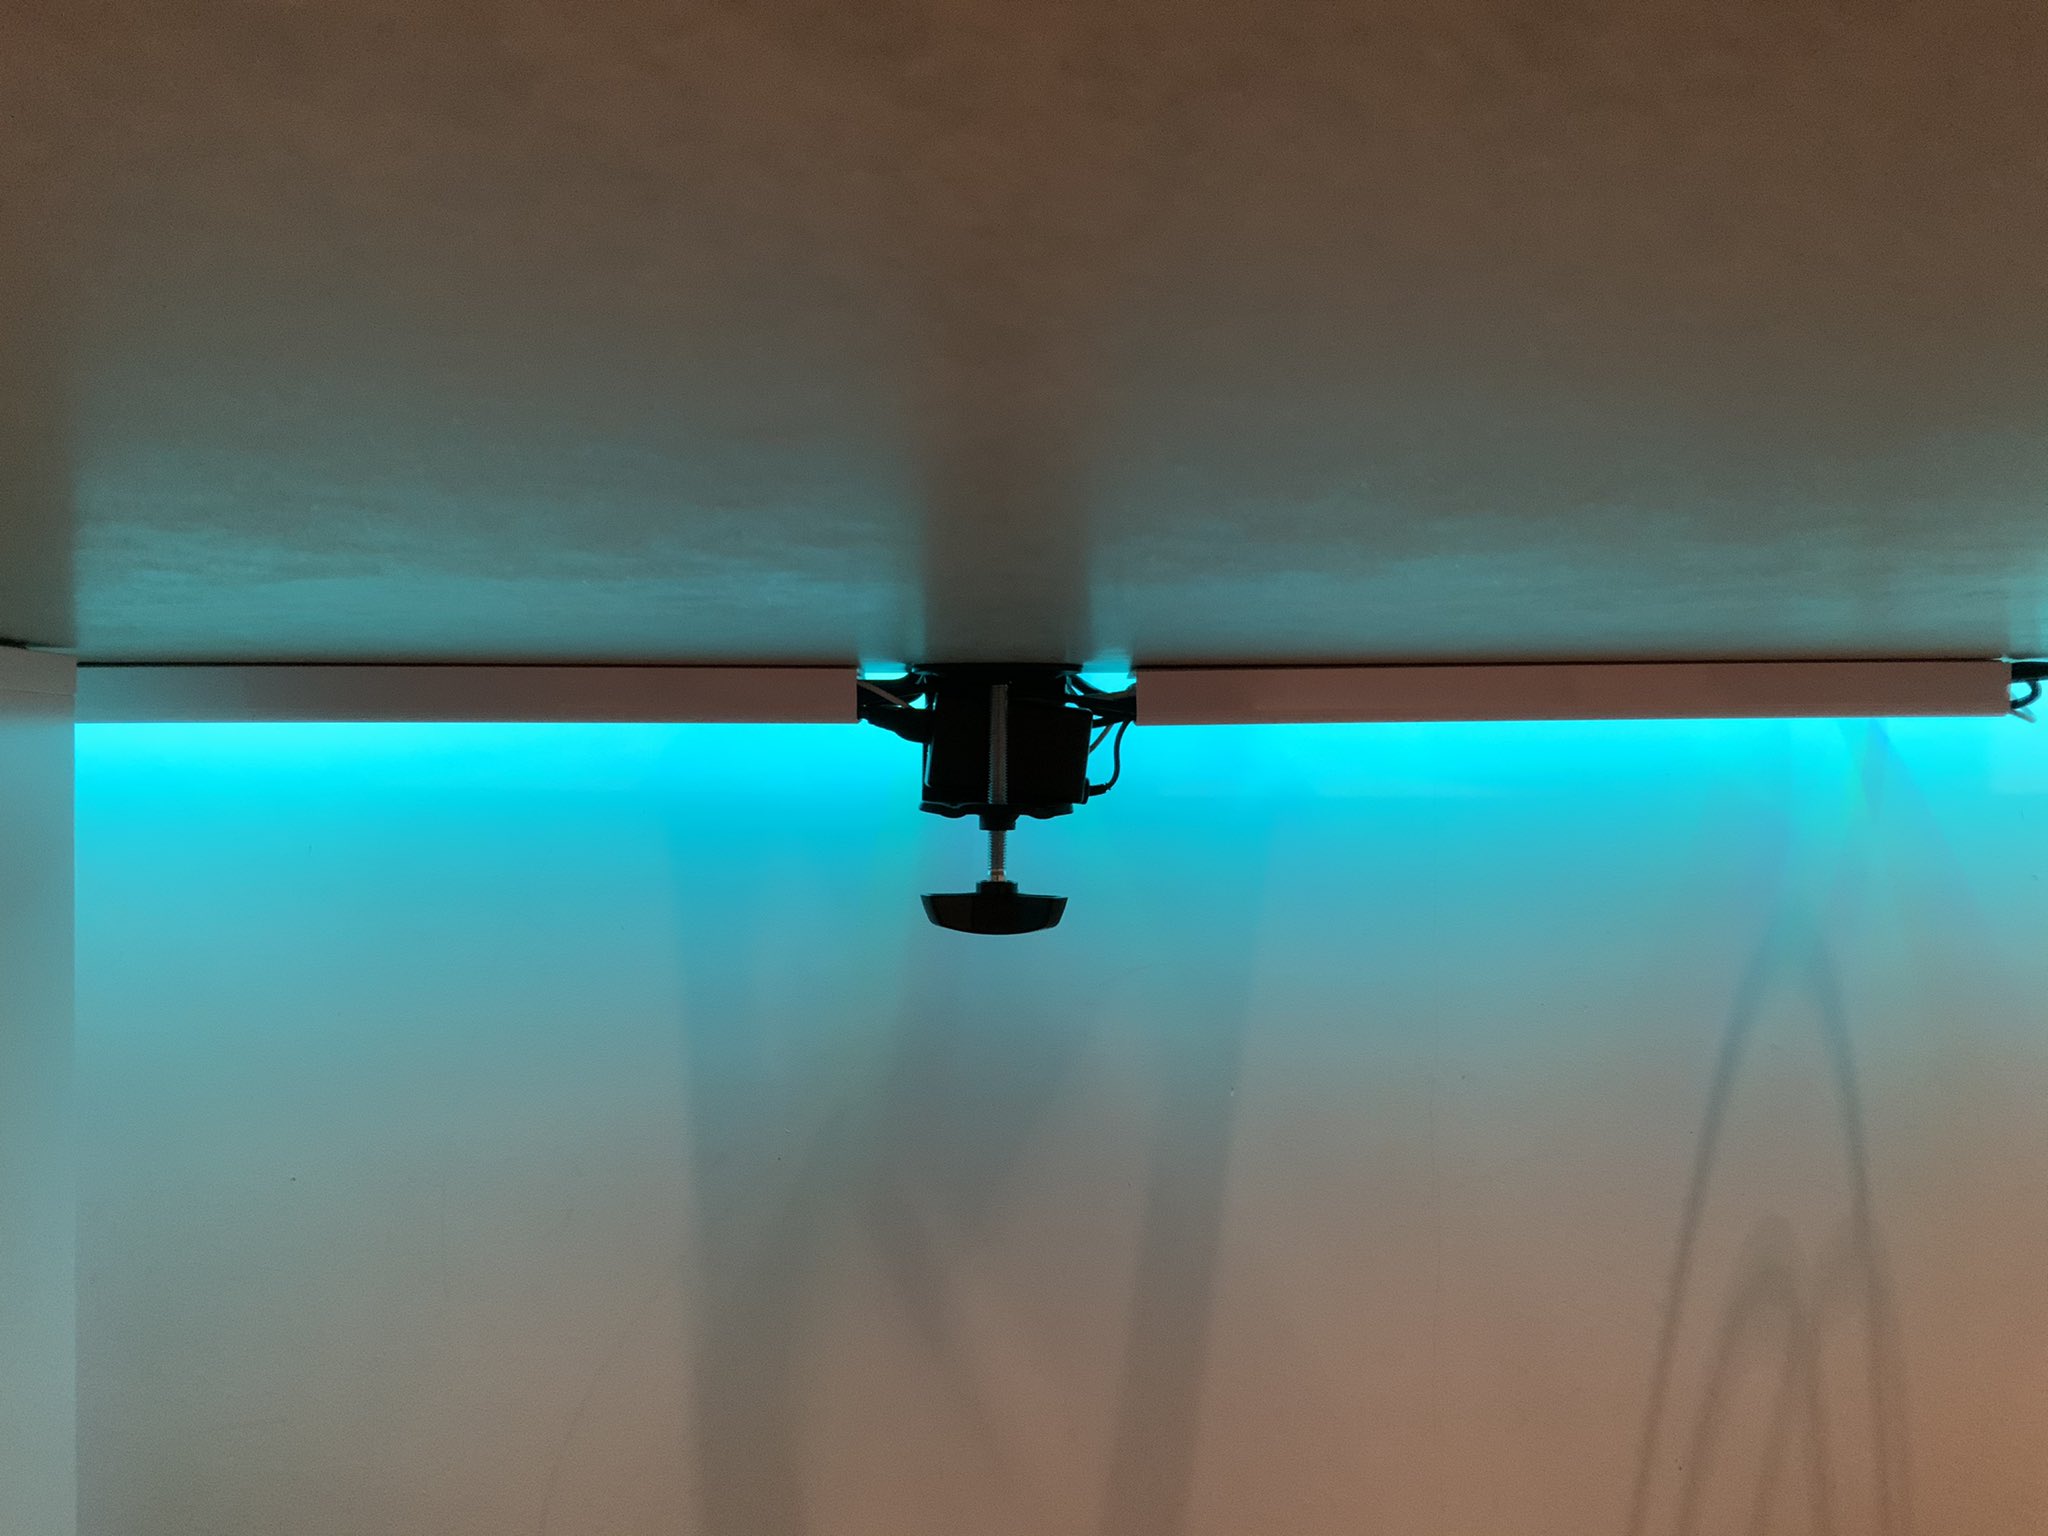
Cable runners
Firstly, I needed to run the cables neatly underneath the desk. I grabbed some cable raceways that stick on and sit either side of the monitor arm grip. Nice and cheap, and they don’t prevent the desk from being disassembled.
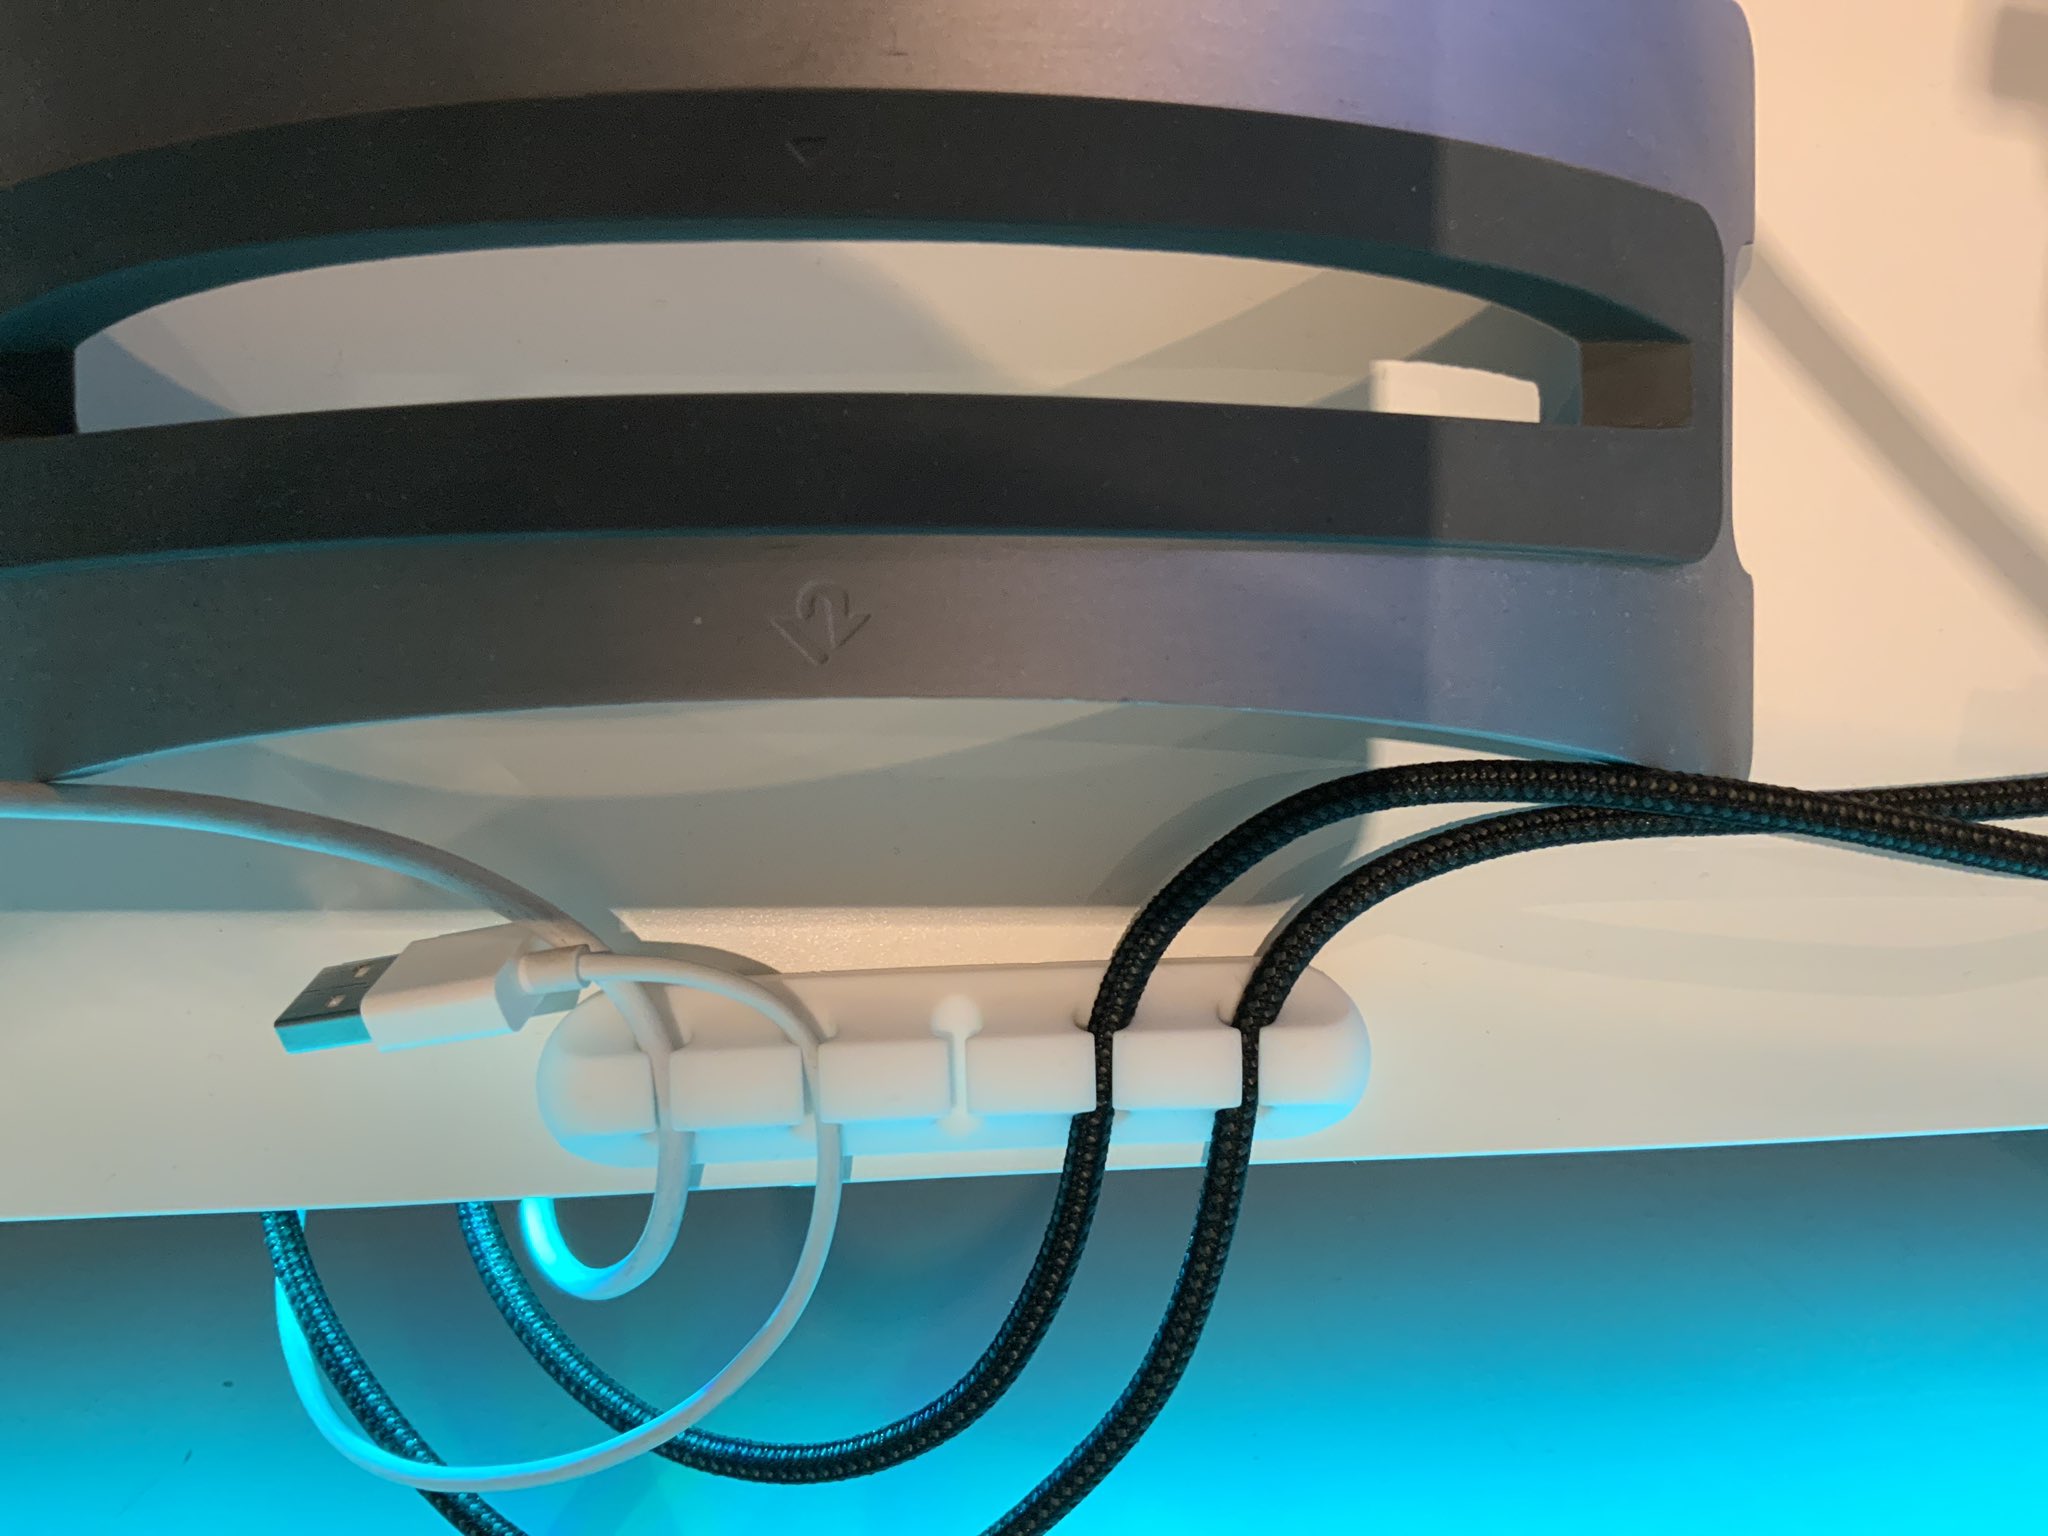
Rubber cable holder
Next, I fixed this rubber cable holder to the back of the desk in order to keep cables in place once I’d run them under the desk. It gives me easy access to my hard drive, and prevents power and display port cables from falling down the back every time I unplug the laptop. Highly worth purchasing.
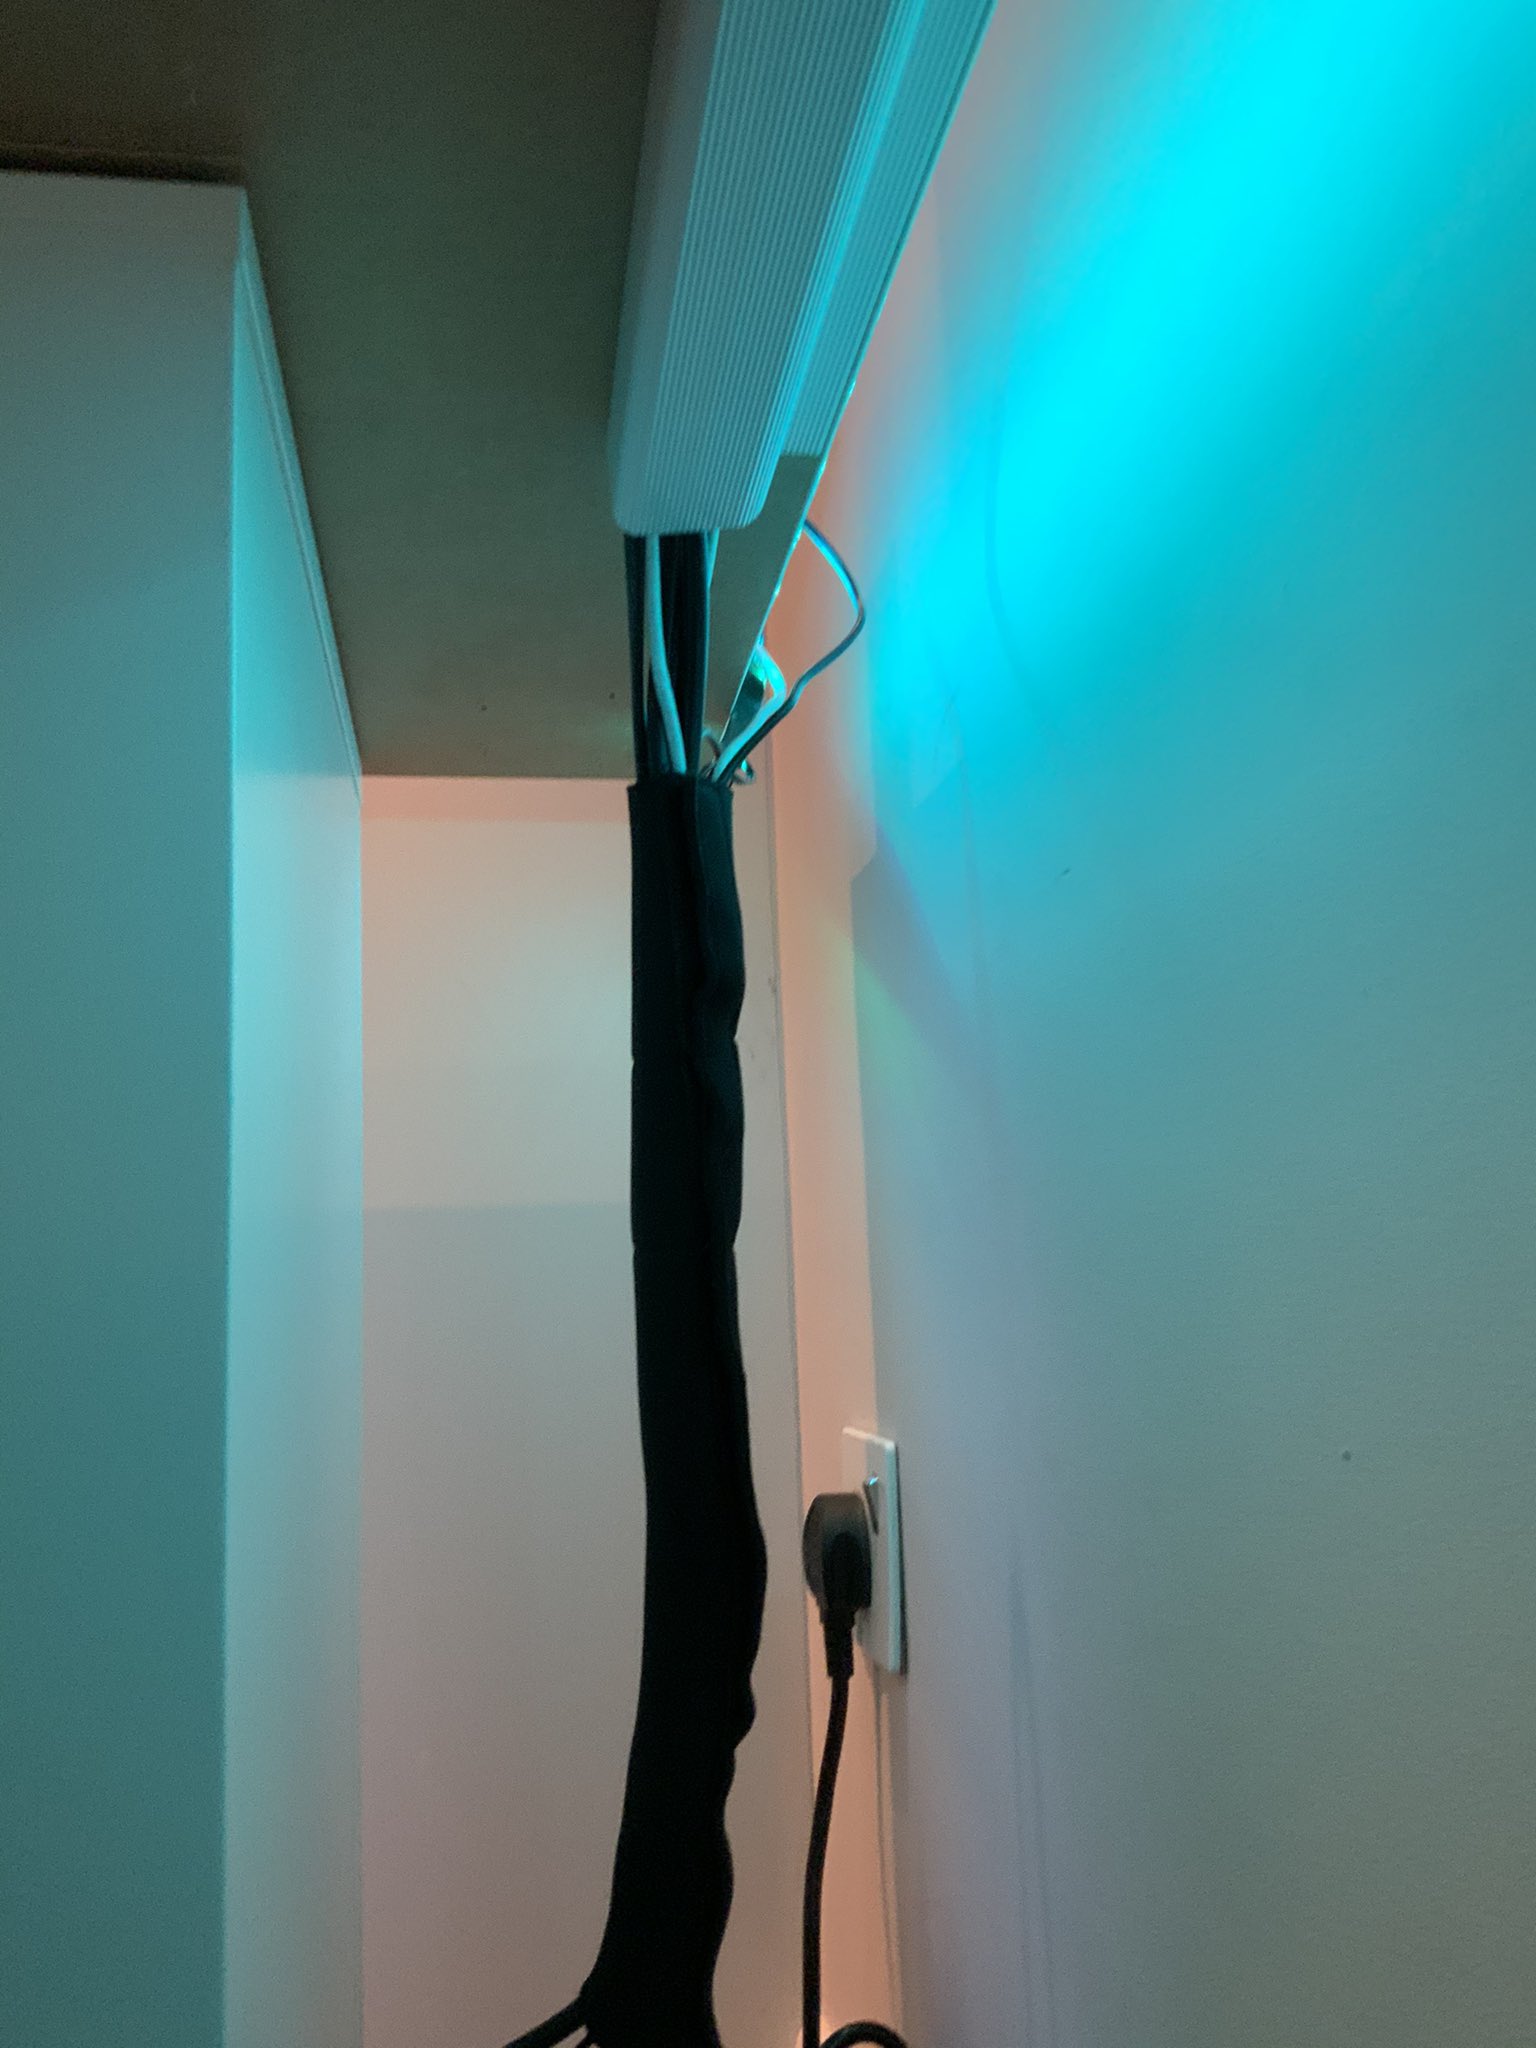
Fabric cable holder
This fabric cable holder is used to wrap all the cables running to the power unit. I know they’re hidden anyway, but it feels much nicer knowing that they’re all wrapped together. It comes as a long length of fabric that you can cut to whatever size you need. For your longer cables that still have some length once they reach the plugs, I use velcro cable tie straps to keep them all neat and tidy.
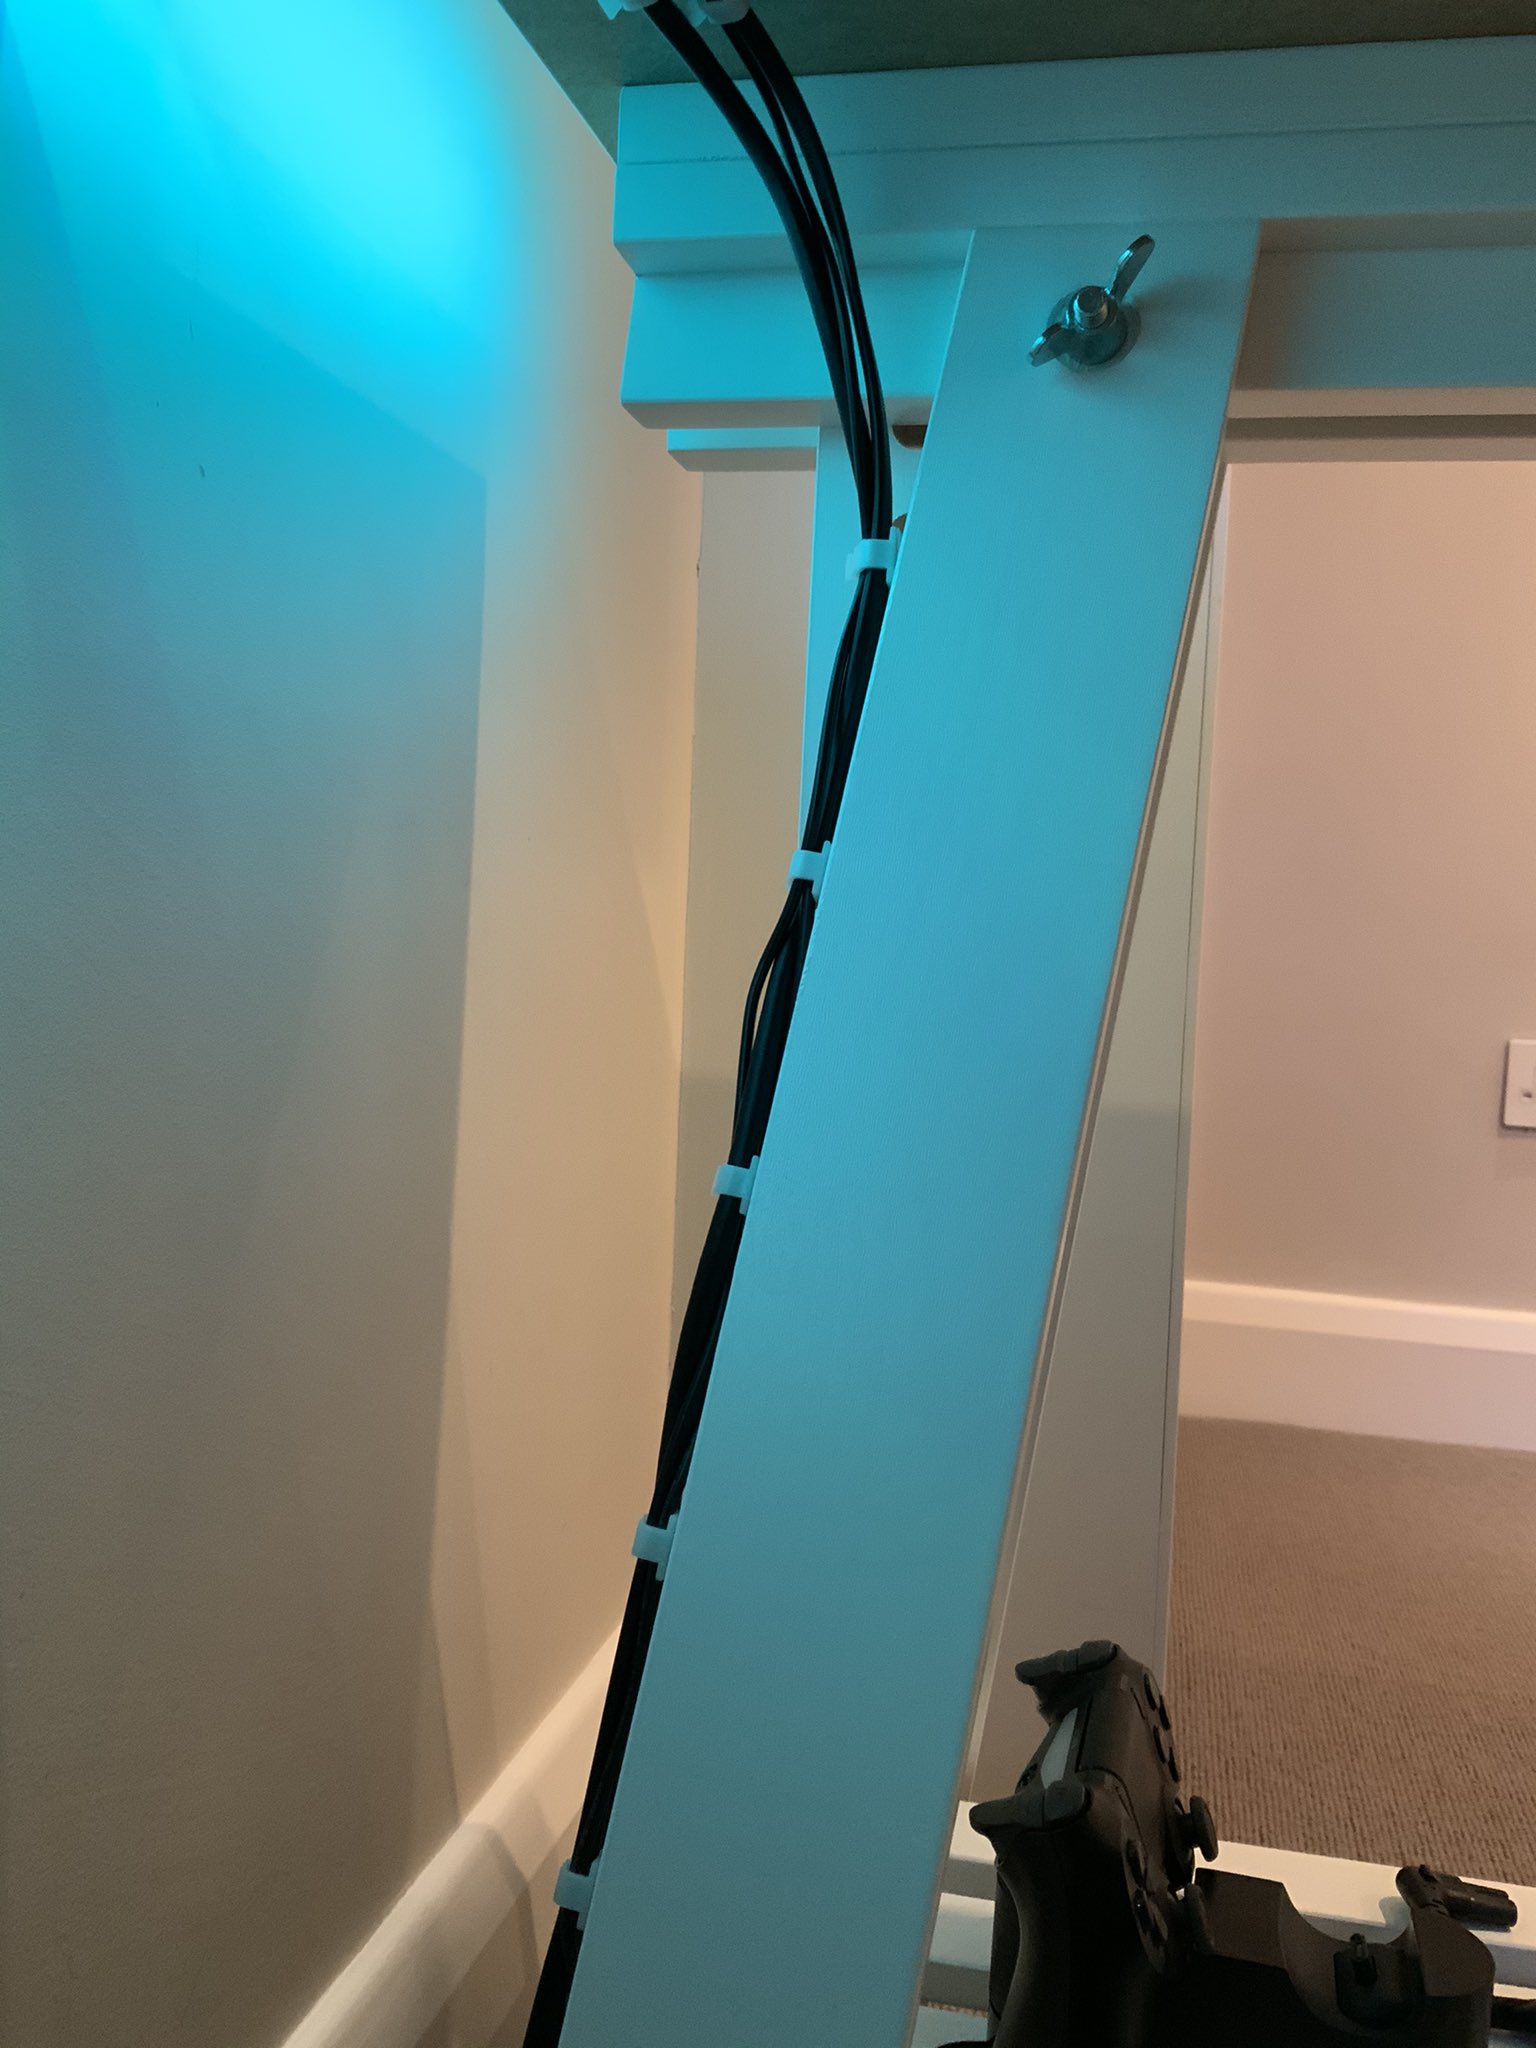
Cable clips
Finally, to run the cables from the PS5 on the trestle, I needed some small, discreet clips that could do this whilst remaining out of sight. These cable clips come in packs of fifty and are perfect for neatly snaking cables.
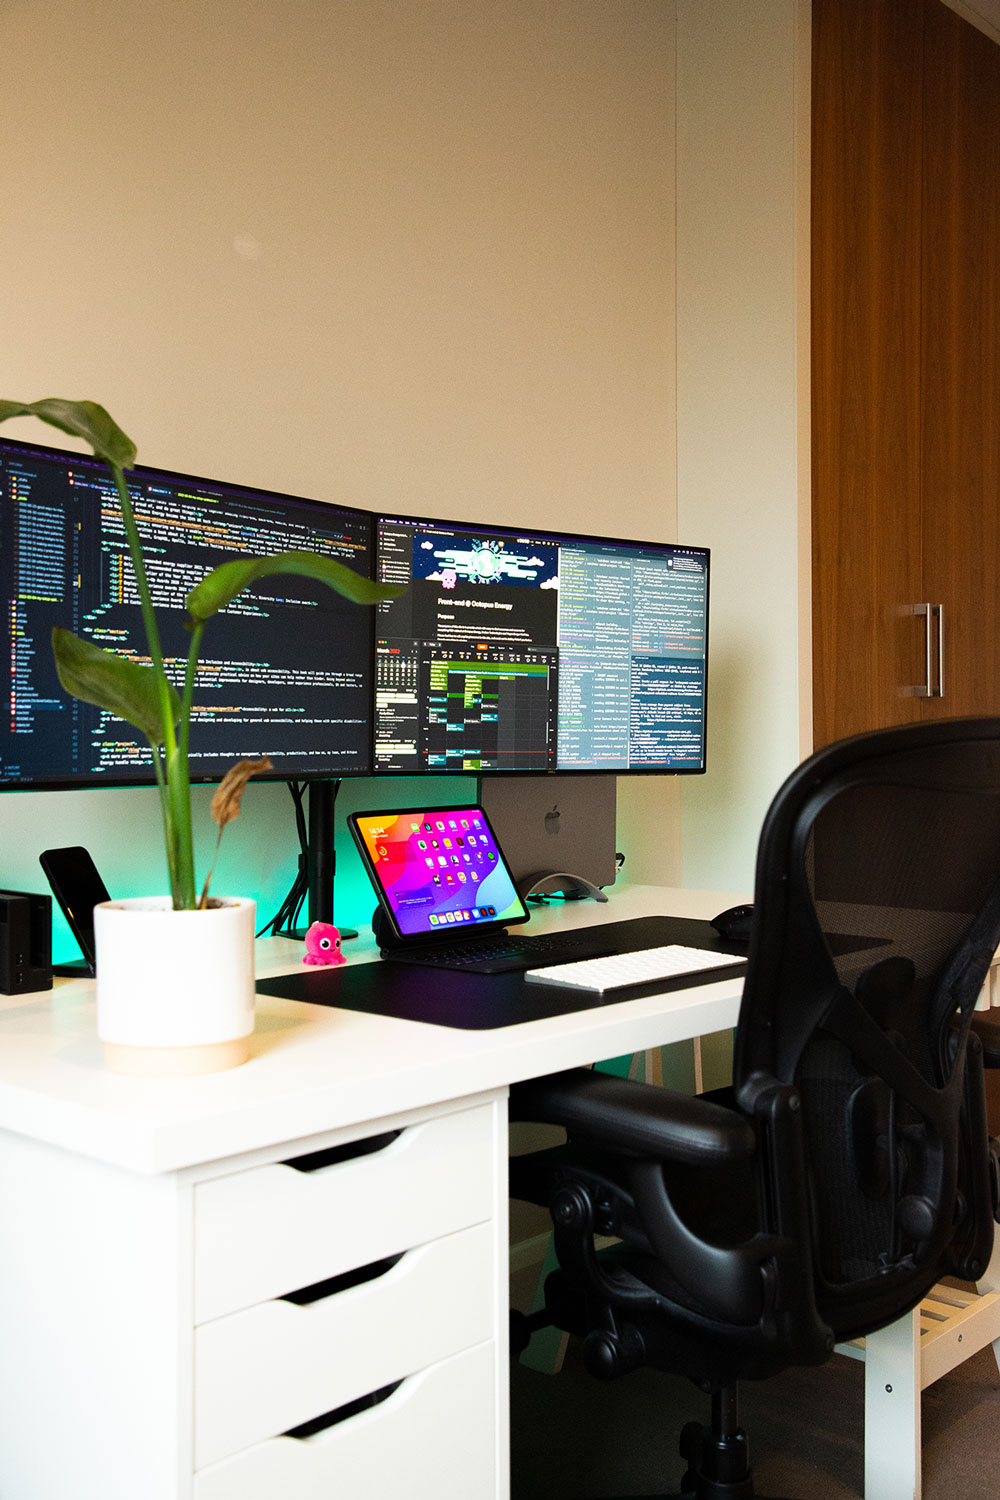
iPad
This is genuinely my favourite addition in the last year. When my personal laptop died, I decided to pick up an iPad Pro as a replacement rather than buying another laptop. I’m fortunate to have a great work laptop, so it’s nice to have a personal machine that’s totally different in order to create some separation between work and life! To make it just a little more computer-like, I grabbed the Apple magic keyboard case.
A side benefit for this addition is the webcam it provides. My laptop is closed in this setup, and fixing a separate webcam onto one of the monitors would look a little messy in my opinion. The quality of the front facing camera on the iPad is insane, so that works out nicely.
Chair
I finally got a decent chair! After months of debating the pros and cons over two separate lockdowns, I eventually landed on the Herman Miller Aeron … I should have purchased it a long time ago. I thought it was cliché when I’d read people say that all other chairs feel terrible once you’ve sat in it, but it’s surprisingly accurate. It’s pricey, but given that I sit in it for hours nearly every day, it’s already paying me back. It feels like a similar purchase to a good mattress in that way.
Cushion
Ok so this is a bit of a random one, but I have a gaming cushion. I noticed it when I was picking up a new controller. It’s called the EXO SCUF and it looks a bit like this:
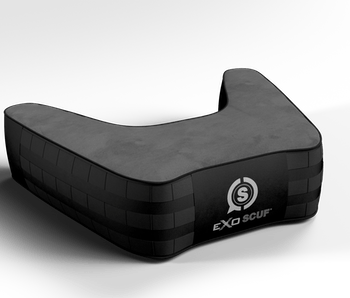
It was made to improve posture for folks gaming with a controller, and it definitely does that, but it also acts as a way of keeping me in place whilst on meetings. I now stay upright and alert, rather than trying to handle slacks, e-mails, and code whilst someone is asking me a question. I’m a notorious multi-tasker, and sometimes do this without even thinking, so it’s nice to have a way to respect someone else’s time and give them my full attention.
Laptop stand
In my first setup post, I mentioned that when running dual monitors on a 2018 MacBook Pro it gets uncommonly hot and noisy. Because of that, I kept it closed and on a stand to improve airflow. I’ve since upgraded to the new M1 Mac and it’s unbelievably powerful in comparison. More than that though, it’s silent. I’ve used it for a few weeks now and I haven’t heard the fans once. Even still, it still feels neatest to keep it on the stand. It keeps the focus on the screens, keeps the desk clear, and keeps that lovely new M1 keyboard clean. The one I went for was the BookArc from Twelve South.
Keyboard
Back in 2020, I talked about recently purchasing the Keychron K4. It’s a beautiful-looking mechanical keyboard, and I was very excited to run it as part of the setup. However, I just really didn’t get on with it. The raised keys made it feel like a typewriter, and I found myself having to really rotate my wrist upwards significantly to type on it, creating pain. In the end, I reverted to my Apple magic keyboard. I’m used to the size and keys, and it sits neatly on my lap to keep myself sat upright.
Mouse
On the other hand, my mouse hasn’t changed at all since the last setup! The Logitech MX Master remains the best mouse I’ve used. My favourite features of it are:
- ✋ It’s slightly bigger than a standard mouse, so your hand seems to wrap around it a little nicer
- ↕️ It has a free-spinning scroll wheel to get up and down pages quickly
- 👍 It has a thumb rest with a handy side scroller and action buttons just to the right of it.
- 👩💻 The rest itself has a button on it, which can be programmed to carry out a range of different commands depending on the gesture.
Gaming
I didn’t talk about this in the first post, but I’m a big fan of gaming. There’s a couple of consoles built into this setup. There’s a Nintendo Switch dock on the left, and a PS5 on the bottom right within the trestle. They’re linked to different screens, so I can monitor scary PR’s and deployments whilst trying to fight zombies or catch Pokemon. I’ll let you decide which screen holds the scarier content…
Other nice extras
Desk pad
Just nice and beautiful. I picked up this Knodel desk pad to create a nice clean space to work on.
Wireless charger
A nice stand plus charger combo form Anker with a quick charge plug that can do rapid charging.
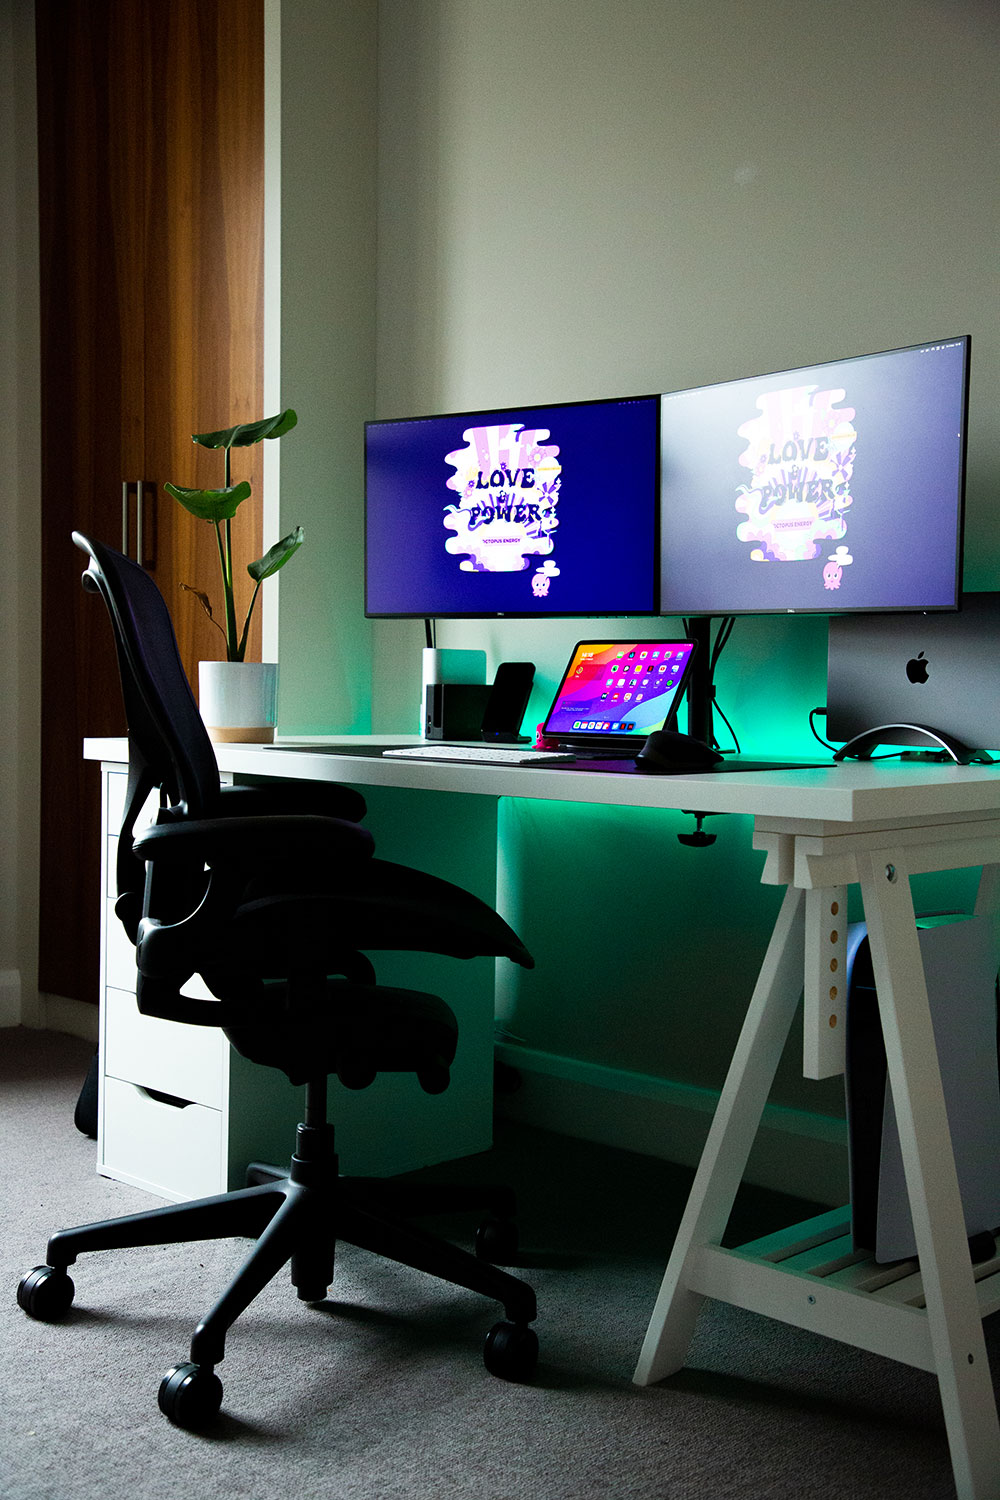
LED’s
I set up some LED strips on the back of my desk for literally no other reason than it looks pretty cool at night. I think I was deep in the overthinking of the setup at this point.
So there you have it! It’s fair to say I spent too much time on cable management, but that aside I’m happy with how it turned out. I took a lot of inspiration from the workspaces newsletter that shares people’s setups twice a week.