Hearing loss is extremely common. According to the World Health Organisation, more than 5% of the world’s population – 466 million people – are deaf or hearing impaired, with 11 million of those people residing in the UK1. It’s thought that by 2050 over 900 million people around the world (1 in 10) will have a hearing impairment2. With deafness and hard of hearing set to become more prominent, we need to ensure that more attention is given to the barriers that these users could face.
The most common issue online for people with these access needs is video. It’s often content trapped in one format that, for many, can’t be accessed as it requires being able to hear it in order to understand it. Even then, the language the content is in may not be the user’s first.
The good news is that a solution exists for many of these situations, and can be added to content that already exists: creating and adding accessible subtitles and captions. Doing this holds the greatest potential for providing access to previously inaccessible content for many people. Due to a near global adoption of a way to achieve this through code, we can provide video content in a way that is better catered to the needs of deaf and hard of hearing users than was possible before. The technology is called WebVTT - here’s how it works.
WebVTT
So let’s start with how to write a subtitle file - luckily it’s a super simple one to make! You can make a WebVTT file just by opening a new file on TextEdit or Notepad, and saving it with the file extension .vtt. Here’s an example of the contents of a WebVTT file:
WEBVTT


00:00:00.500 --> 00:00:03.500
Run run run as fast as you can

00:00:03.600 --> 00:00:05.000
You can't catch me
I’m the gingerbread man
That’s it. Honestly! You don’t need to re-shoot videos, or pay someone to overlay subtitles on them. Once you have WebVTT at the top of the file, all you need to do is repeat this process for each line:
- Set a start and end time
- Add the text for what is said between those times
If you were to create the file above and add it to your video, browsers would immediately start displaying the text you provided in between the start and end times you specified. It’d look something like this:
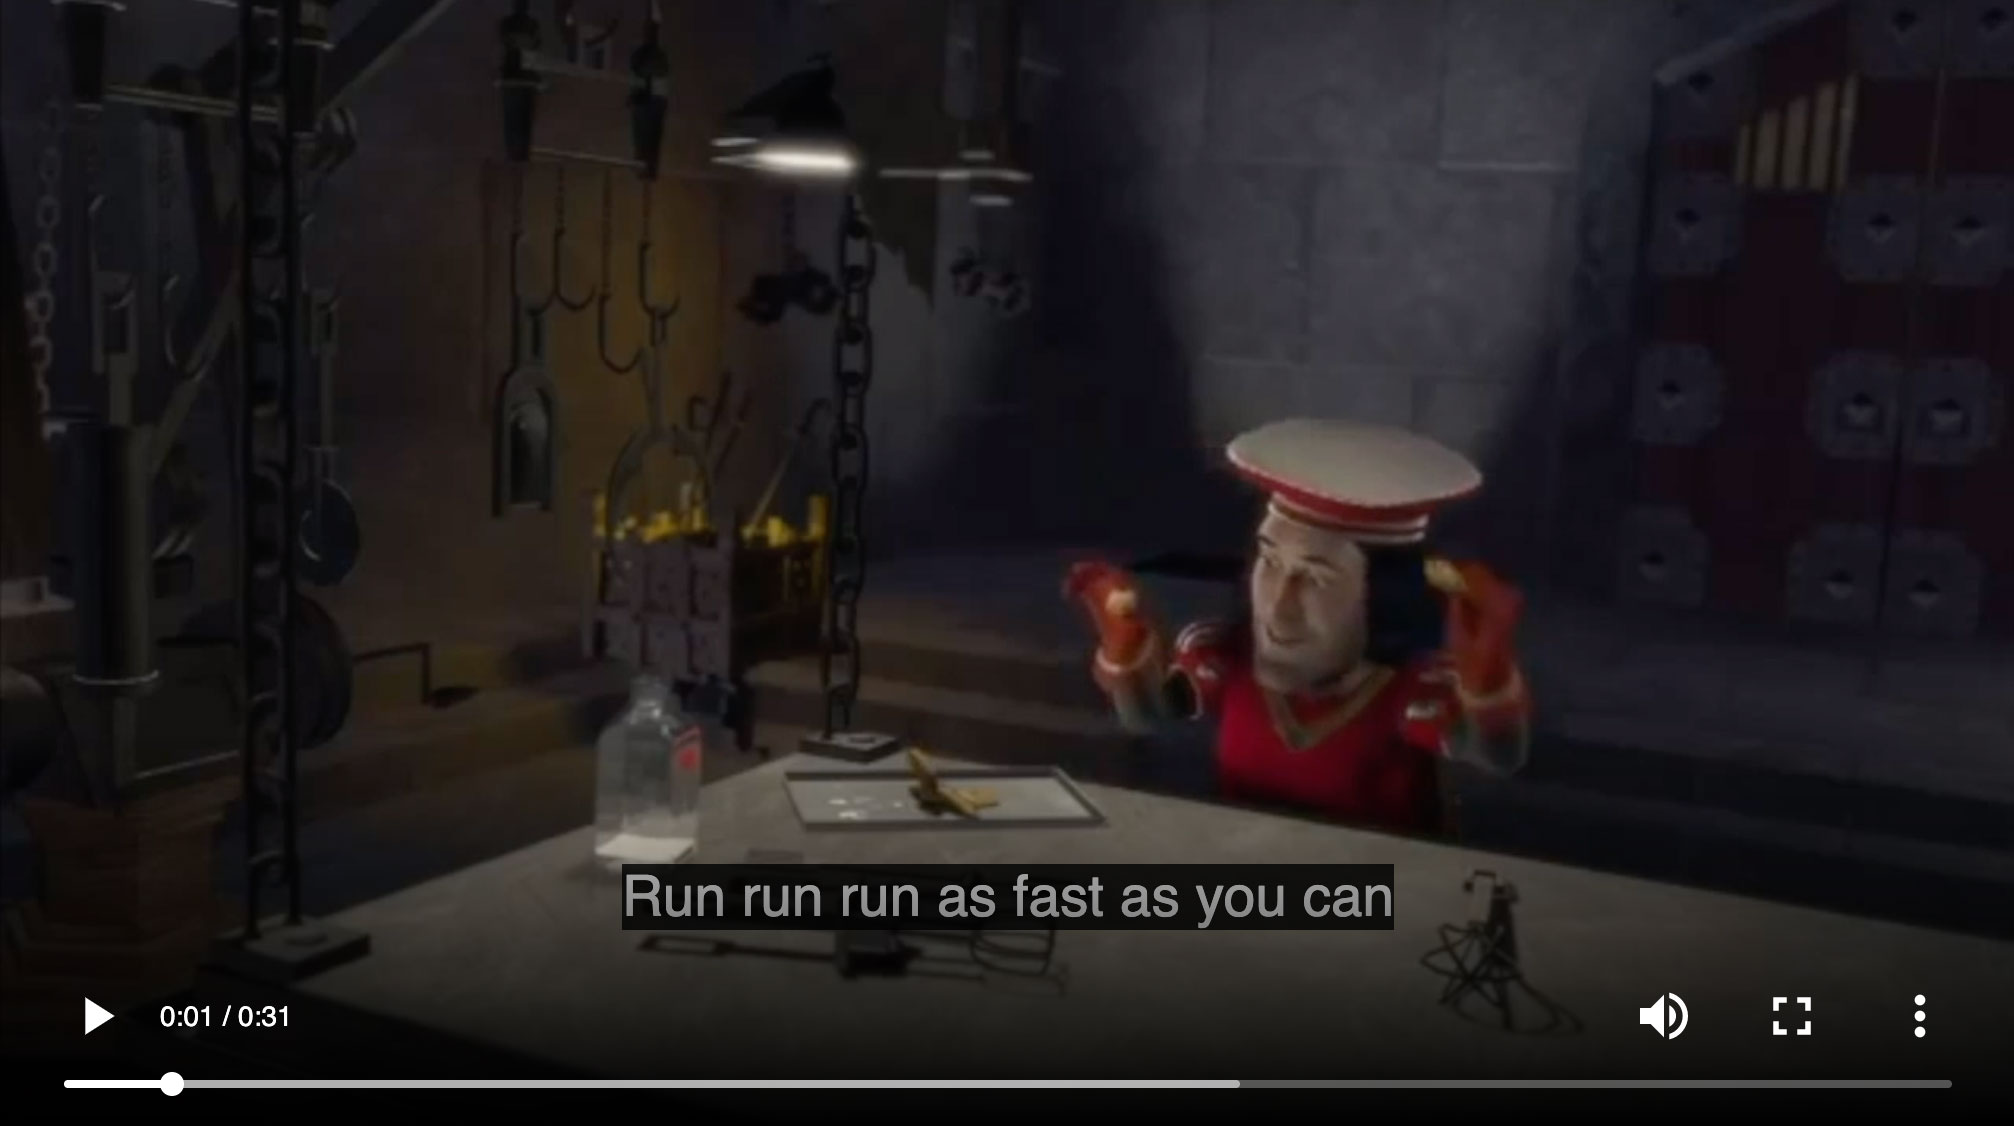
(Note: If you’d like an example, here’s one I made earlier!)
So, how do you add it?
The <track> element
Any video that’s displayed on the web (that isn’t embedded via the likes of YouTube and Vimeo) will be using the native <video> tag. It lets a browser know a few things:
- 📹 That there’s a video to play
- 🔎 Where to find the actual video file
- 🎨 If we’ve set anything specific about the video’s appearance (do we want controls to be displayed, do we want it to loop, do we want it to autoplay etc.). It looks like this:
<video controls>
   <source src=“videos/video.mp4” type=“video/mp4”>
</video>
Pretty simple right? Well, to add the fancy .vtt file you just made, all you need to do is add one tag to this video tag to tell it that you’ve got subtitles for it to use:
<video controls>
    <source src=“videos/video.mp4” type=“video/mp4”>
    <track
        label=“English”
        kind=“subtitles”
        srclang=“en”
        src=“captions/vtt/video-en.vtt”
        default
    >
</video>
We tell it:
- 🔎 Where to find your nice new file
- ❓ Whether it’s written as subtitles or captions (an important distinction, but one we can’t get into here)
- 🌍 What language the file is written in
The last point is particularly useful. This is because, as I mentioned above, people often use subtitles when they’re viewing a video that isn’t in a language they understand. So by creating subtitles in multiple languages, you’re catering to yet another access need by adding this! Let’s say you’ve made English and German subtitles for your video. You add them in the same way, and your code would look like this:
<video controls>
    <source src=“videos/video.mp4” type=“video/mp4”>
    <track
        label=“English”
        kind=“subtitles”
        srclang=“en”
        src=“captions/vtt/video-en.vtt”
        default
    >
    <track
        label=“Deutsch”
        kind=“subtitles”
        srclang=“de”
        src=“captions/vtt/video-de.vtt”
    >
</video>
The browser does the rest! However many files you create and add, the native video player in the browser will offer them all as options when a user clicks on the “caption” button.
There you have it. Suddenly you’ve unlocked content for a whole range of people you’d accidentally kept it away from, probably without even realising. Go you!
The effort to do this versus the impact it’ll have on your audience is huge, and is one of the key points I make whenever I talk or write about accessibility:
There are so many quick updates and alterations you can make to your site, often with very little effort, that will make a drastic improvement to how those with access needs interact with your content
For images, it’s describing an image using the alt attribute, for colours it’s checking your contrast ratios, and for video it’s the use of <track> and WebVTT.
Some FAQs
Is this well supported?
It’s actually really good! WebVTT currently has a global usage of over 96%, making it something you can use reliably.
Can you style subtitles?
Absolutely! There are a range of great ways you can adapt captions and subtitles to best suit your content. There are options that can alter the:
- Formatting of the text shown
- Positioning of the subtitles in the video
- Alignment of subtitles
- Size of subtitles
There are even features earmarked for the future that will take subtitles to a whole other level! Things like:
pastandfutureidentifiers (think about how text changes colour on a karaoke machine depending on where you are in the song)- “voice” spans so you can style all dialogue from a specific person or character in the same way
(Note: if you’re interested in getting into way more detail around the available styling options for subtitles, my book has a very thorough section on it - just saying 😉)
(Extra Note: at the time of writing this, styling subtitles is a little less consistent support-wise than actually displaying subtitles, but the hope is that support will increase in the near future).
I host my videos on YouTube, do I need to do this?
Sort of! YouTube have an amazing auto-captioning service that does it’s best to transcribe captions to any video that has been uploaded to their site. It’s been running for a while, is pretty accurate, but does make the occasional error. That’s why it’s a good idea to go and check any videos you’ve hosted there, to make sure that the captions that YouTube has generated make sense. It’s possible to do this through YouTube’s ‘Video Manager’, and you can edit both text content and timings.
However (and it’s a big however), YouTube recently decided to turn off this tool due to lack of use. It’s caused huge uproar with the accessibility community (they even turned it off during Deaf Awareness Month), and it remains to be seen whether it will make a return. Therefore, if you’ve uploaded videos to YouTube since 28th September 2020, your video (and your audience) may well need your own caption writing skills more than ever.
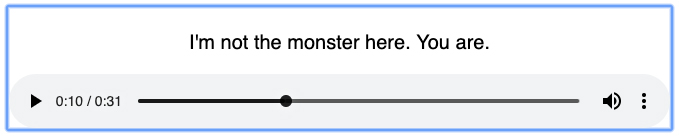
What about ‘just’ audio?
Good question! You’ll often find just audio on websites (for content such as podcasts and songs), and this needs captioning too. Unfortunately, the great WebVTT option available in the <video> tag doesn’t currently work for <audio>. Luckily, you can get around this by placing your audio files in a <video> tag and then either setting a height on the tag so the subtitles are visible, or setting a poster attribute for the <video> tag so that it’s tall enough for the subtitles to be visible.
Example
You can check out a working code example of all of the above here: learna11y.com/examples/5-deafness-and-hard-of-hearing-webvtt/
You will also be able to download a sample WebVTT file you can use as a starter for your own subtitles.
Want to learn more?
There is an awful lot more about this area that hasn’t been covered in this blog post. There’s also a whole host of other access needs and opportunities to make your sites more inclusive. If you’d like to learn more, I’ve written a book about it! It’s called “Practical Web Inclusion & Accessibility”. You can read more about it here and grab yourself a copy here. If you do the latter, let me know on Twitter so I can thank you myself!
I’ve also recently started consulting with companies again in order to help them improve their approach to accessibility. If that sounds interesting to you, you can learn more here.